|
الحصول على الخاص بك الثالوث الصوت اللاعب جاهز...
|
Are you tired of poorly lit bathrooms and mirrors that don’t showcase your best self? How To Make Backlit LED Mirror?
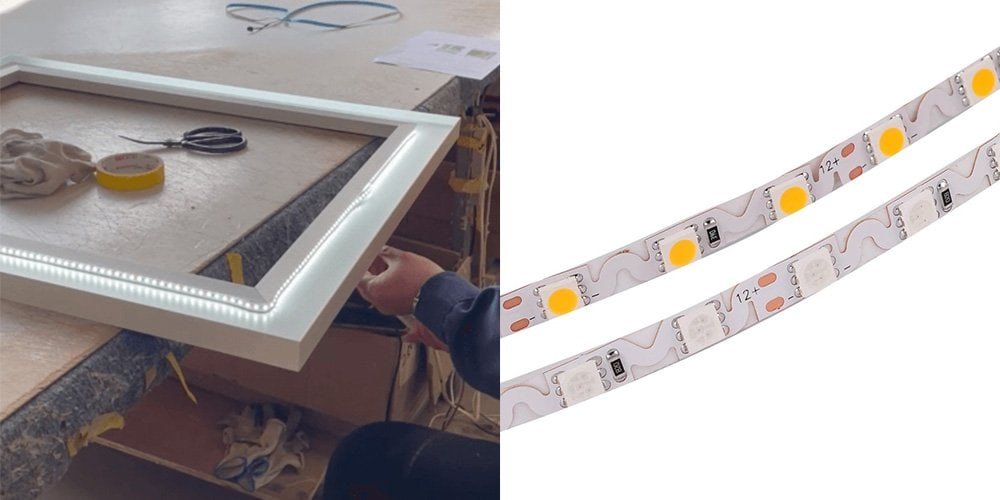
First you will need to measure the circumference of your mirror using a tape measure. (If you don’t have a tape measure, you can use a piece of wire around the mirror to measure it.) After that cut the LED strip to the proper length according to your measurement. (Generally the LED strip does not affect the brightness of the strip no matter where you cut it in that piece). بعد القطع, you can use 3م tape to stick it on the edge or back of the mirror. All fixed after connecting the power supply for testing.
I will explain further below and take you along to learn more about backlit for mirror.
What Makes Backlit LED Mirrors So Special?
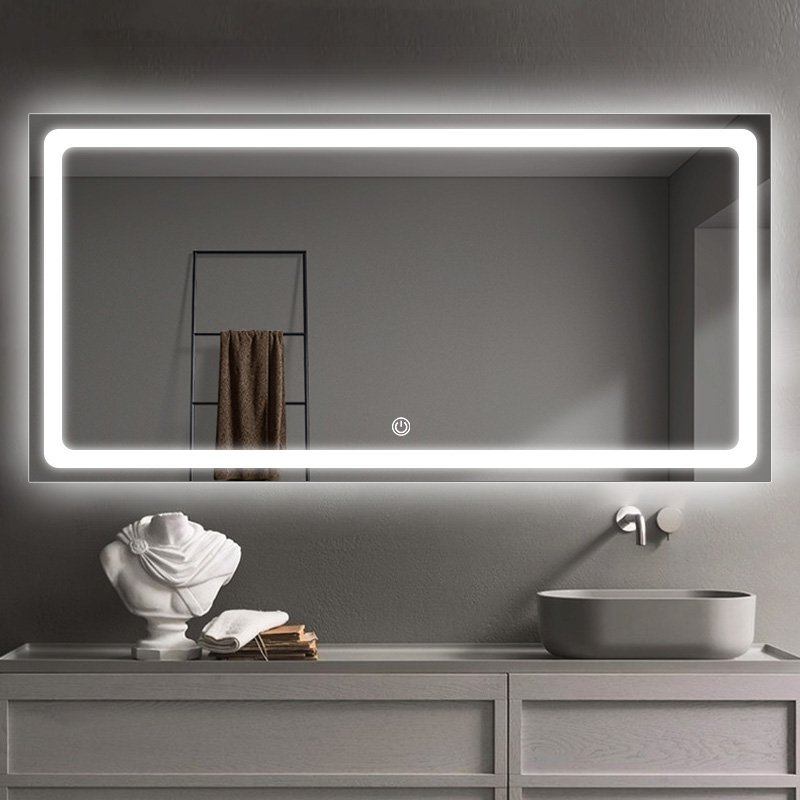
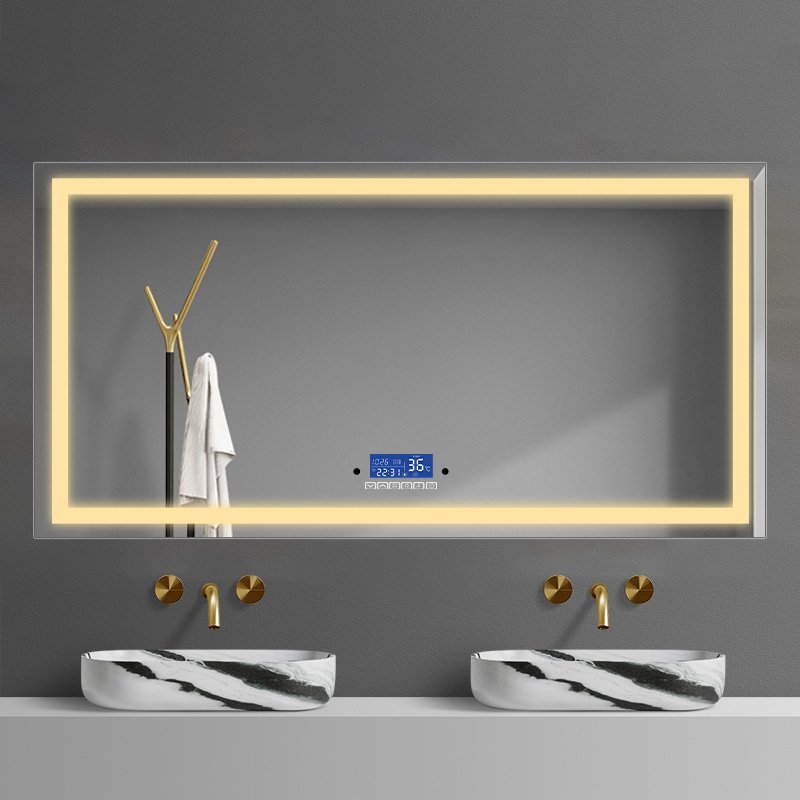
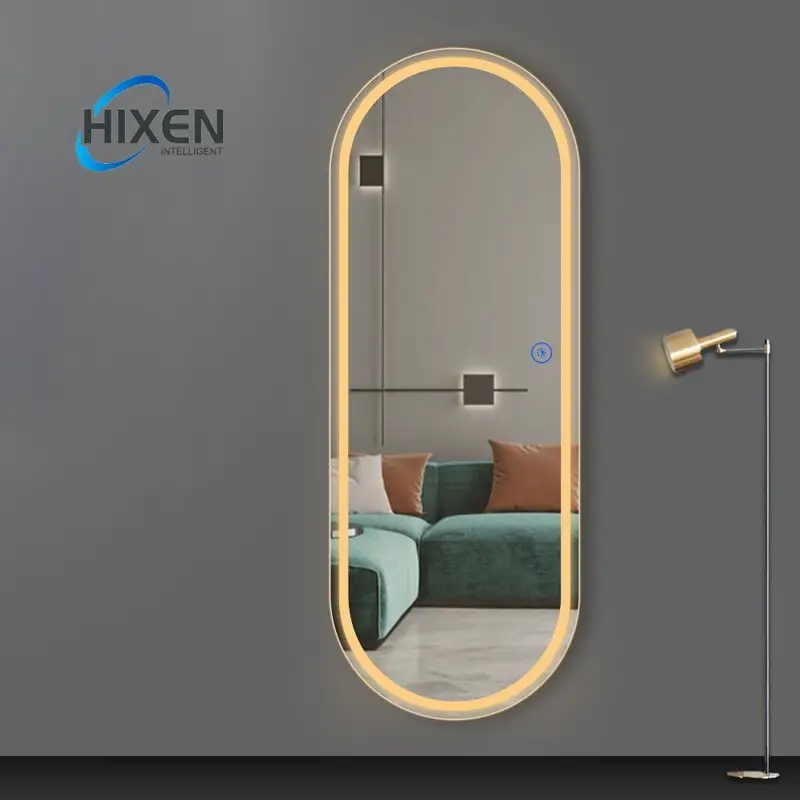
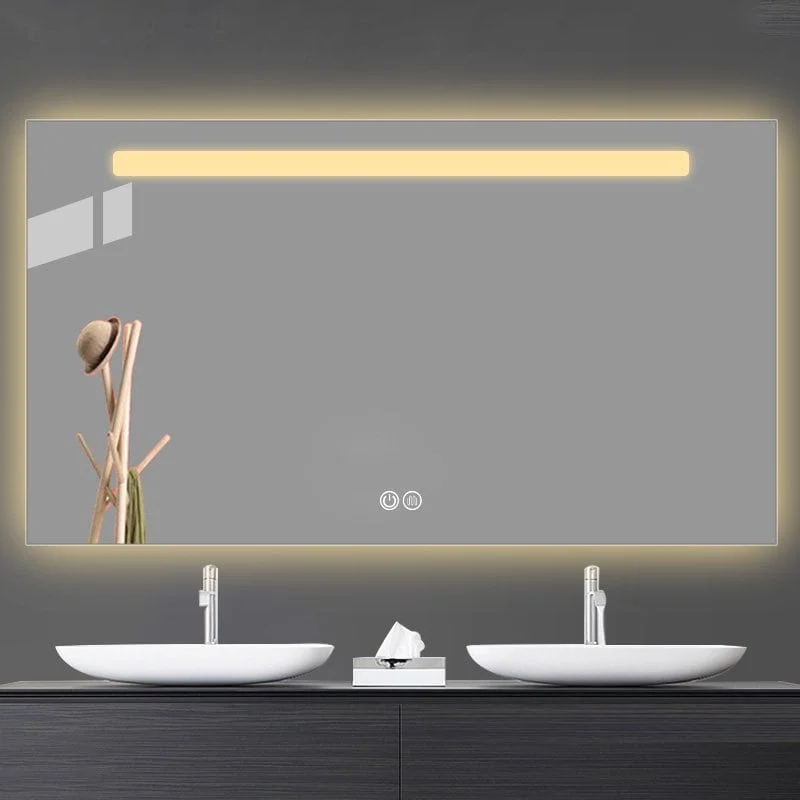
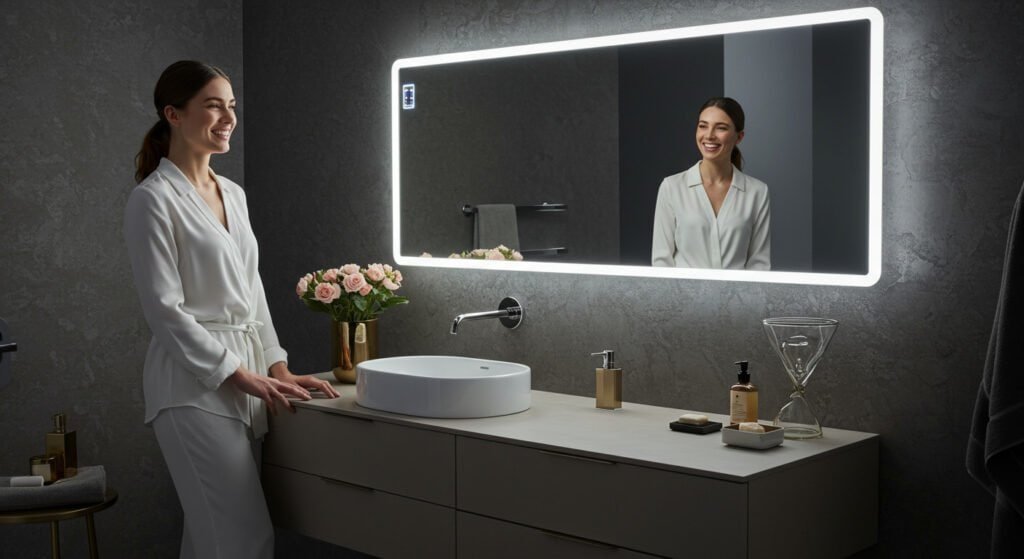
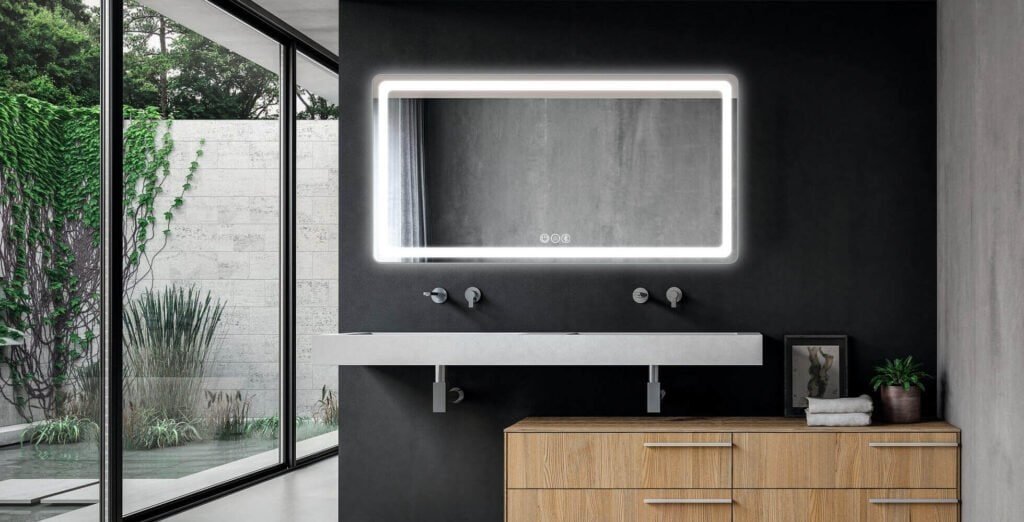
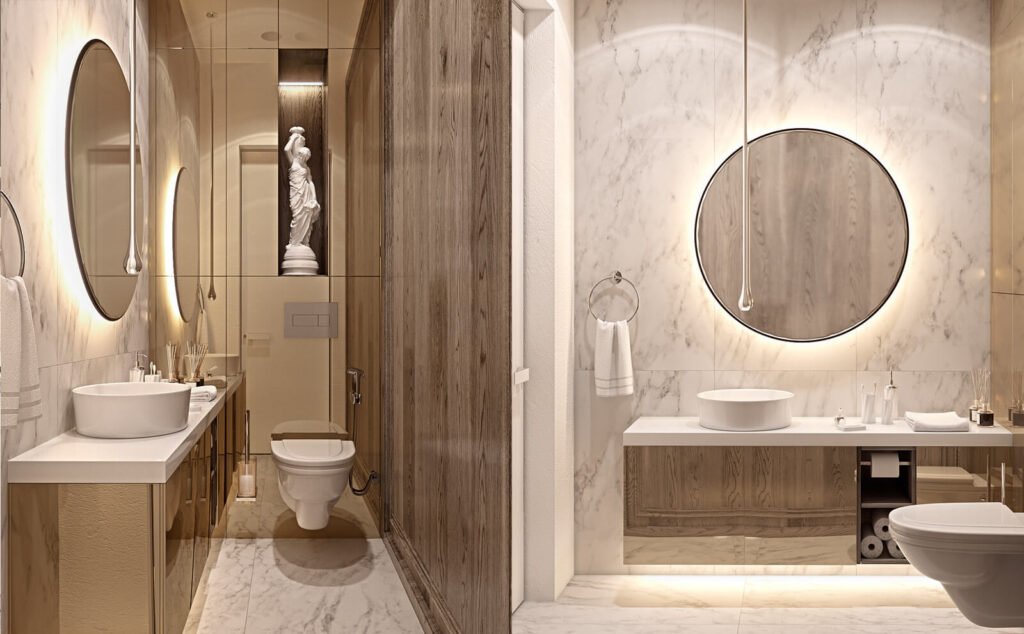
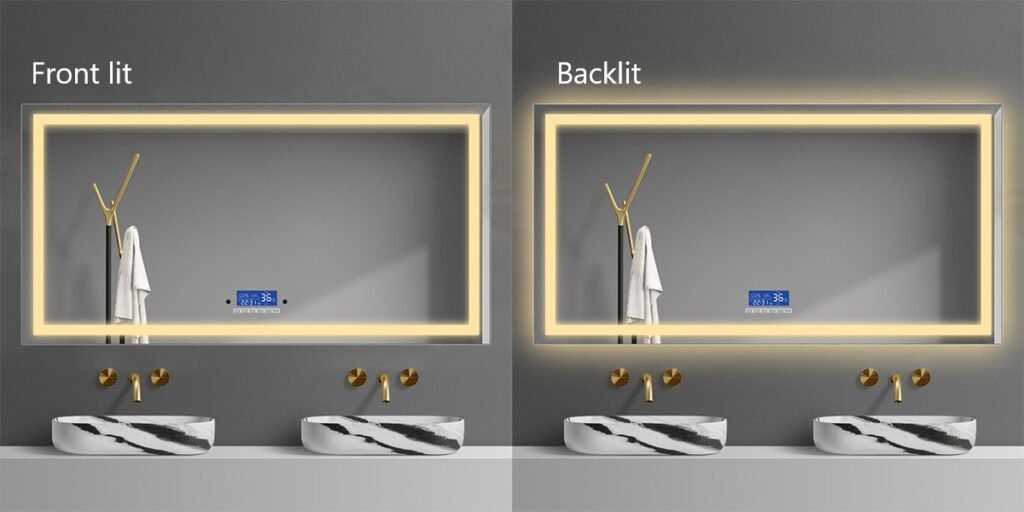
Backlit LED mirrors are more than just a lighting solution—they’re a transformative design element that combines functionality with aesthetic appeal. By creating a soft, diffused light that surrounds your reflection, these mirrors provide superior illumination, reduce harsh shadows, and add a modern, sophisticated touch to any room.
Unlike traditional lighting that creates harsh, الضوء المباشر, backlit mirrors offer a gentle, even illumination that seems to come from behind the mirror itself. This unique lighting technique provides several key benefits:
- الرؤية المعززة: Eliminates shadows and provides uniform lighting across your entire reflection.
- النداء الجمالي: Creates a floating, ethereal effect that becomes a focal point in any room.
- Mood Enhancement: ناعم, diffused lighting can create a calming, spa-like atmosphere.
- Versatility: Works perfectly in bathrooms, bedrooms, غرف الملابس, and even professional spaces.
Understanding Backlit Mirror Technology
Before diving into the creation process, let’s explore what makes backlit LED mirrors unique:
Lighting Placement
The magic of a backlit mirror lies in its strategic LED placement. Unlike traditional lighting that comes from the sides or top of a mirror, backlit mirrors have LED strips carefully positioned behind the mirror’s surface. This positioning creates a soft, ambient glow that seems to make the mirror itself luminous.
Light Diffusion
Achieving the perfect backlit effect requires more than just placing lights behind a mirror. Professional designs use diffuser panels or special techniques to spread the light evenly, preventing harsh spots or uneven illumination. The goal is to create a soft, cloud-like glow that provides perfect, flattering lighting.
Energy Efficiency
LED technology has revolutionized home lighting, and backlit mirrors are no exception. Modern LED strips consume minimal electricity while providing bright, consistent lighting. Most LED strips used in backlit mirrors can last up to 50,000 hours—that’s nearly six years of continuous use!
خيارات التخصيص
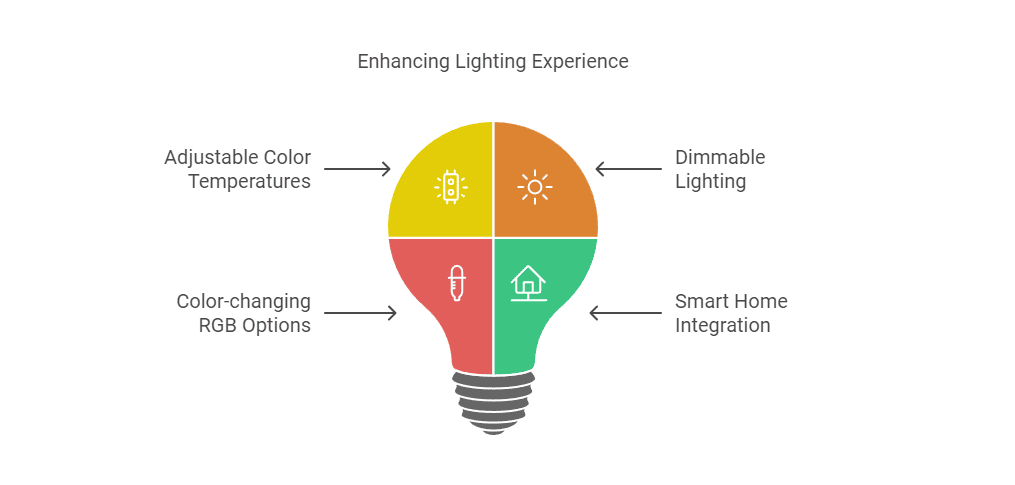
One of the most exciting aspects of backlit for mirror is their incredible customization potential:
Step-by-Step Guide: How to Make A Backlit Mirror
1. Gather Essential Materials
Before you begin, you’ll need to collect the following materials:
High-Quality Mirror: Choose a mirror with a clean, flat surface. Frameless mirrors work best for a modern look, but framed mirrors can also be adapted.
LED Strip Lights:
- Waterproof strips (especially for bathroom use)
- Minimum IP65 rating for moisture resistance
- LED strips with adhesive backing
Electrical Components:
- Power supply compatible with your LED strips
- Dimmer switch (optional but recommended)
- موصلات الأسلاك
- شريط كهربائي
Mounting Hardware:
- Mounting brackets
- Screws
- مراسي الجدار
Additional Tools:
- Drill
- مفك البراغي
- Wire strippers
- Level
- Measuring tape
- Diffuser panel (optional but recommended)

2. Selecting the Right LED Strips
Choosing the right LED strips is crucial for achieving professional results:
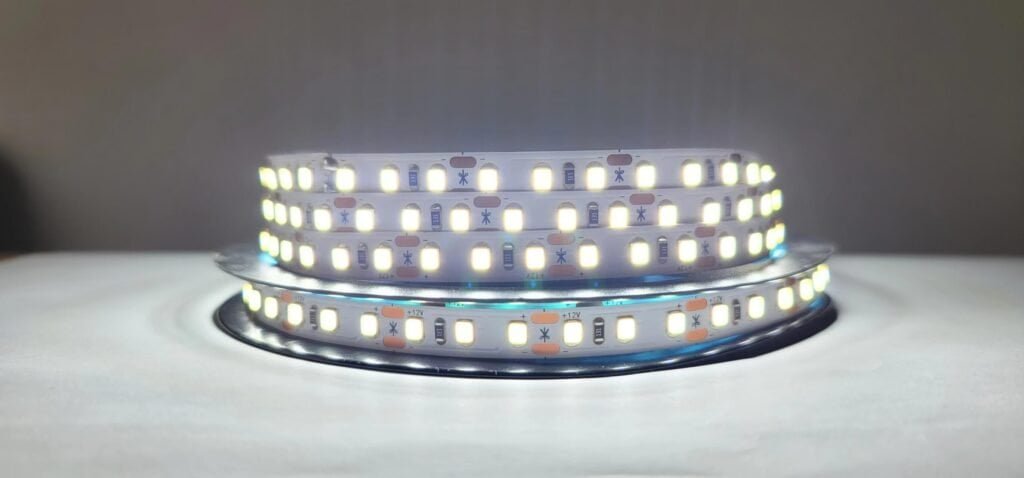
Types of LED Strips
- RGB Strips: Offer color-changing capabilities
- White Temperature Adjustable Strips: Allow switching between warm and cool white
- Single-Color White Strips: Most budget-friendly option
Key Specifications to Consider
- مؤشر عرض الألوان (كري): Look for 90+ CRI for most accurate color representation
- درجة حرارة اللون:
- 3000ك: Warm, soft white (relaxing)
- 4000ك: Neutral white (most versatile)
- 6500ك: Cool white (energizing)
- Brightness: 300-500 lumens per meter is ideal for most applications
- Water Resistance: IP65 or higher for bathroom use
3. Preparing Your Mirror
Proper preparation ensures a clean, professional installation:
- Clean the mirror thoroughly with a glass cleaner
- Measure and mark precise LED strip placement
- Ensure the back of the mirror is smooth and flat
- Consider using a mounting frame for a more polished look
4. LED Installation Techniques
Professional installation requires attention to detail:
Lighting Placement
- Maintain a consistent 1-2 cm gap between the mirror’s edge and LED strips
- Create a border around all four sides for even illumination
- Use aluminum channels to improve heat dissipation and provide a clean mounting surface
Connection Methods
- Soldering provides the most secure connection
- Use high-quality connector clips for easier installation
- Ensure all electrical connections are insulated
5. Electrical Considerations
Safety and proper electrical work are paramount:
- Use a power supply that matches your LED strip voltage
- Install a dedicated circuit or use a reliable surge protector
- Consider professional installation for complex wiring
- Use a dimmer switch for adjustable lighting
- Ensure proper grounding and follow local electrical codes
6. Finishing and Testing
The final steps determine the quality of your backlit mirror:
- Apply a diffuser panel to soften and even out the light
- Conduct thorough testing at different times of day
- Check for even illumination
- Make minor adjustments as needed
- Seal any gaps to prevent moisture intrusion
Common Challenges and Solutions of How to Put LED Lights on a Mirror
Installing LED lights on mirrors can be tricky. Getting them to work and look the way you want can be a challenge. Whether it’s uneven lighting, moisture protection, أو أي شيء آخر, there are several problems you can run into. In this post, we’ll look at common problems when installing LED lights on mirrors and how to solve them.
1. Uneven Lighting: Achieving Consistent Illumination
Problem: Inconsistent or Patchy Light
Uneven lighting is the most common problem people have when they add LED lights to mirrors. This is a problem because if the lighting is uneven, it’s not a good user experience. Especially if you’re a woman doing your makeup or a man shaving, you want the light to be even.
حل:
- Use Multiple LED Strips: The solution to uneven lighting is to install more than one LED strip around the mirror. By putting the strips in the right place, you can avoid dark spots and areas where the light is too concentrated.
- Install Strips in Parallel: When you install multiple strips, put them in parallel so that the light is evenly distributed all the way around the mirror.
- Use a Diffuser Panel: A diffuser panel helps scatter light more uniformly, softening the harshness of the LED and reducing unevenness.
- Choose High-Quality, Uniform LED Strips: Not all LED strips are created equal. You want to get high-quality strips that have consistent brightness and color temperature. Look for LED strips that are known for their even light distribution and minimal light flicker.
By doing these things, you will get the same light every time from your LED-lit mirror.
2. Heat Management: Preventing Overheating
Problem: LED Strips Generating Excessive Heat
شرائط LED, although efficient, do produce heat. If not dissipated properly, that heat can damage the LED strips and the surface of the mirror. Overheating can also shorten the life of the lights, which is not what you want when you’re making a long-term investment.
حل:
- Select Low-Heat LED Strips: When selecting LED strips, look for strips that are designed to create less heat. You want energy-efficient LED strips with built-in heat management.
- Use Aluminum Mounting Channels: Aluminum channels help dissipate heat. Putting the LED strips in these channels can help you avoid overheating issues.
- Ensure Proper Ventilation: You need to have good airflow. Make sure the area where the mirror is installed has good ventilation so the heat can escape.
- Avoid Continuous 24/7 Operation: If you run the lights all the time, they can overheat. Set up a timer or use motion sensors so the lights are only on when you need them.
Proper heat management will extend the life of your LED lights and protect your mirror from potential damage due to excessive heat buildup.
3. حماية الرطوبة: Safeguarding Against Water Damage
Problem: Potential Water Damage in Bathrooms
Bathrooms are humid places. Moisture is bad for LED lights and their wiring. If you don’t protect the LED strips from moisture, you could end up with water damage, which could cause the lights to malfunction or even create a safety hazard.
حل:
- Use Waterproof IP65+ Rated Strips: Make sure the LED strips you select have a high water resistance rating, such as IP65 or higher. These strips are built to handle moisture and are safe to use in bathrooms.
- Apply Proper Sealing: Use silicone or another waterproof sealing material to protect the LED strips and their wiring from humidity and water splashes. This is especially important around sinks or showers.
- Avoid Direct Water Exposure: While waterproof LED strips are resistant to moisture, you don’t want to have water directly hitting the lights. Make sure that your LED installation is positioned so that water can’t splash directly onto the lights.
- Regular Maintenance Checks: Periodically check the LED lights and the sealing to make sure no water or moisture has gotten in. Regular maintenance checks will help you catch problems before they become major.
By taking these precautions, you can protect your LED lights from water damage and ensure they continue to work correctly in the moist environment of your bathroom.
Cost Breakdown: DIY vs. Professional Installation
Knowing what it costs to install LED lights on mirrors will help you make the best decision for your budget. Here’s a cost comparison of doing it yourself (DIY) versus hiring a professional to install LED lights on your mirror.
DIY Backlit Mirror
If you’re comfortable doing basic electrical work and want to do it yourself, the DIY approach is a cost-effective solution.
- LED Strips: $10-$80 (Depending on quality and length)
- مرآة: $20-$70 (Standard mirrors without backlighting)
- Additional Components: $50-$100 (For power supply, connectors, diffusers, and mounting materials)
Total Estimated Cost: $150-$300
Professional Installation
If you want a hassle-free experience or have a complicated installation, a professional service might be the way to go.
- Pre-made Backlit Mirror: $500-$1,500 (Includes pre-installed LED strips and backlighting)
- Installation Fees: $200-$500 (Varies depending on complexity and location)
Total Estimated Cost: $700-$2,000
Potential Savings
You can save 50-70% by doing it yourself (DIY) versus buying a pre-made backlit mirror with professional installation. If you’re comfortable doing basic DIY stuff, this can be a significant cost-saving option. لكن, if you want a more polished look and don’t want to mess with it, professional installation is the way to go.
الأسئلة الشائعة
1. How to Make LED Backlit Signs?
Creating LED backlit signs follows a similar process to making backlit mirrors, but you’ll use more signage-specific materials like acrylic or PVC. Here’s a quick overview:
- Choose a Backing Material: Acrylic or polycarbonate sheets work well for signs, providing a solid base and durability.
- Install LED Strips: Attach the LED strips around the perimeter of the backing. Ensure the light is evenly distributed by positioning the strips parallel to the edges.
- Use a Diffuser Panel: A diffuser will soften and spread the light, creating a uniform glow, essential for the backlit effect.
- الأسلاك: Connect the LEDs to a power source, ensuring everything is secured and safe for prolonged use.
When you make LED backlit signs, you need to plan where the lights go and how the light diffuses to get a professional-looking sign.
2. Can You Make Your Own Backlit Mirror?
نعم, you can make your own backlit mirror! DIY enthusiasts can achieve stunning results with the right materials and tools. Here’s a brief overview:
- Mirror Selection: Start with a mirror that suits your space. Consider using eco-friendly, high-quality mirrors for the best reflective surface.
- LED Strips: Purchase LED strips designed for backlighting. Ensure they are dimmable for more control over brightness.
- تثبيت: Place the LED strips around the back perimeter of the mirror, using adhesive or mounting channels for secure attachment.
- مزود الطاقة: Connect the strips to a power source and ensure they are properly insulated and sealed, especially in humid environments like bathrooms.
With a bit of patience and attention to detail, you can successfully create a backlit mirror that rivals those sold in stores.
3. How to Put LED Lights on a Mirror?
If you’re asking “How to put LED lights on a mirror?” the process is straightforward:
- Choose LED Strips: Select flexible LED strips that are designed for mirrors. Make sure they provide uniform light output.
- Prepare the Mirror: Clean the surface where you’ll install the LED strips.
- Apply the LED Strips: Stick the strips around the perimeter of the mirror, either on the back or along the frame. Ensure they are securely attached.
- Connect Power Source: Connect the LED strips to a power supply, ideally one that allows you to adjust brightness.
- Finishing Touches: Install a diffuser panel to smooth out the lighting for a more uniform glow.
This is one of the easiest ways to add some LED lighting to your mirror, giving it a stylish and modern upgrade.
4. How to Convert a Normal Mirror into an LED Mirror?
To convert a regular mirror into an LED mirror, follow these simple steps:
- خطوة 1: Clean the mirror and decide where you want the LED lights to go (usually the back or edges).
- خطوة 2: Install LED strips around the edges of the mirror. You can opt for LED strips with a self-adhesive backing to make installation easier.
- خطوة 3: Connect the LED strips to the power supply and ensure they are properly sealed if used in a damp environment (مثل الحمام).
- خطوة 4: Add a diffuser panel for even lighting distribution.
- خطوة 5: Test the mirror to ensure the LED lights are functioning as expected.
By following these steps, you can easily transform a regular mirror into a backlit LED mirror without the need to buy a new one.
5. How Are LED Mirrors Made?
LED mirrors are made by embedding LED light strips either into the mirror frame or along the back of the mirror. The steps typically include:When you choose a mirror give preference to selected high quality mirrors to ensure a clear and reflective surface.LED strips should be chosen with a cut-out marking of around 1100 lumens for easy installation on the back of the mirror or embedded in the frame.
After installation remember to connect the LED lights to the power supply and test them, take care to avoid contact with water or moisture when wiring.
LED mirrors combine modern technology and design to create functional and visually appealing products that are perfect for any home or business space.
6. How to Make LED Backlit Mirror with Lights?
To create an LED backlit mirror with lights, follow these detailed steps:
- Choose Your Mirror: Pick the right mirror for your space. Whether it’s a small vanity mirror or a large bathroom mirror, size matters.
- Buy LED Strips: Make sure to select waterproof, high-quality LED strips to avoid damage from moisture or humidity.
- Mounting the Strips: Use a strong adhesive or mounting channel to attach the LED strips around the back perimeter of the mirror.
- الأسلاك: Ensure the LED strips are connected to a power supply. If you’re using dimmable LEDs, install the dimmer switch.
- Test Your Setup: Once everything is connected, test the lighting to ensure a soft, even glow. Adjust the placement of the strips if necessary.
- Final Touches: Add a diffuser panel if needed to create a smooth, uniform light distribution.
By following these steps, you’ll end up with a professionally lit backlit mirror that adds style and functionality to your space.
خاتمة
Creating or installing an LED backlit mirror is a fun project that can add beauty and functionality to your space. Whether you’re making a DIY LED mirror, adding lights to a regular mirror, or making LED backlit signs, it’s all about choosing the right components, careful installation, والصيانة. With these tips, you can make your own backlit mirror or sign and get a professional result at home.
Creating a backlit LED mirror is more than a home improvement project. It’s a chance to transform your space with professional-grade lighting. By following these expert tips, you can get salon-quality lighting that makes your space more functional and beautiful.
Creating the perfect backlit mirror is a combination of technical skill, creativity, والاهتمام بالتفاصيل. Whether you’re a seasoned DIYer or a first-time home improvement person, this guide gives you the knowledge and confidence to do your project.
Ready to light up your space? Subscribe to our blog for more expert home lighting tips, and tell us about your backlit mirror project in the comments below! Have questions or need some one-on-one advice? Our team of LED mirror experts is here to help you every step of the way.
Additional Resources
- LED Strip Buying Guide
- Mirror Installation Tutorial
- Custom LED Mirror Solutions Consultation
- للتعرف على الفرق بين المرايا ذات الإضاءة الخلفية والمرايا المضيئة انقر هنا.
- للحصول على أفضل مرايا الحمام LED انقر هنا.
- تريد أن تتعلم كيفية ضمان مراقبة الجودة الرئيسية لمرايا LED انقر هنا.
- انقر هنا وستتعلم ما هي مرآة الطول الكاملة.
- انقر هنا سوف تتعرف على تصميم مرآة LED الزخرفية.
- لمعرفة ما هي مرآة الغرور انقر هنا.


