


|
Getting your Trinity Audio player ready...
|
Mounting a mirror incorrectly can lead to dangerous falls, broken glass, and damaged walls. How to mount a mirror? Many homeowners struggle with this seemingly simple task, often resulting in costly repairs and safety hazards. Fortunately, with the right approach and tools, you can install any mirror securely and beautifully.
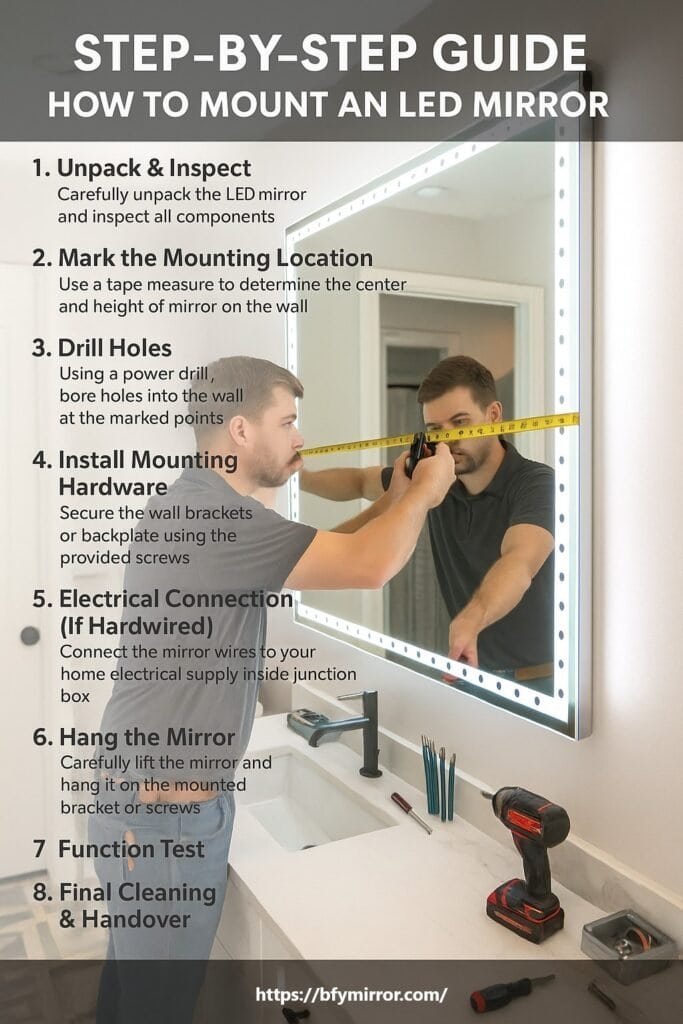
To mount a mirror securely, first gather appropriate hardware based on your wall type and mirror weight. Mark the wall carefully, drill pilot holes, install anchors if needed, and attach mounting hardware before hanging the mirror level with assistance.
Let’s dive deeper into the step-by-step process to ensure your mirror installation goes smoothly and safely.
Essential Tools and Preparation for Mirror Mounting
Before starting any mirror installation project, proper preparation is crucial for ensuring both safety and success.
For mounting a mirror, you’ll need:
- Power drill & bits
- Spirit level
- Tape measure
- Pencil
- Wall anchors & screws (usually included)
- Screwdriver
- Safety gloves & goggles
- Junction box (if hardwired)
- Wire connectors (if hardwired)
Preparation extends beyond just gathering tools. You should also calculate the mirror’s weight to determine the appropriate mounting hardware. Standard mirror clips can typically support mirrors up to 30 pounds, while heavier mirrors require specialized heavy-duty mirror hangers. For LED mirrors with electrical components, additional tools like voltage testers and wire strippers may be necessary. Taking time during this preparation phase greatly reduces the risk of accidents and installation failures, especially when dealing with custom-sized glass mirrors that can’t be easily replaced if damaged during installation.
How to Determine the Perfect Position for Your Mirror
The position of your mirror can make a big difference in how well it works for you and the overall look it gives your space.
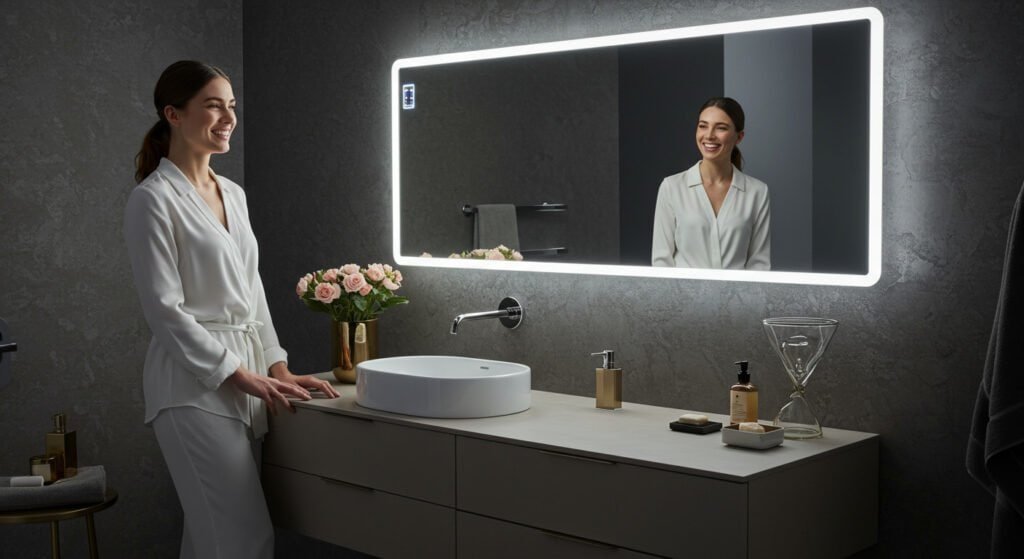
For optimal mirror placement, measure the wall area and center your mirror at eye level (typically 57-65 inches from the floor to the center). In bathrooms, position the bathroom mirror 5-10 inches above the sink or vanity, ensuring it serves both tall and short family members.
Finding the perfect position for a mirror (or mirrors) involves consideration of both practical and design factors. When installing bathroom vanity mirrors, position them above the sink where they’ll be the most useful without getting splashed with water. For full-length mirrors, you’ll want to have at least 3 feet of viewing distance.
Consider lighting: Mirrors placed opposite windows can help brighten a room by reflecting daylight, while wall mirrors with lights should be positioned to maximize illumination. Use painter’s tape to outline where a mirror will go before you install it. Then step back and look at the room from different angles. You can see where it will hit, and it will allow you to adjust it before you’ve made any permanent marks or holes.

Wall-Specific Mounting Techniques for Different Surfaces
Different wall materials require different mounting techniques to make sure your mirror stays put.
For drywall installation, locate studs when possible or use toggle bolts or molly bolts for hollow sections. For tile walls, use diamond-tipped drill bits to prevent cracking, and silicone adhesive as a supplementary support. Concrete walls require masonry anchors and a hammer drill.
The specific method you use to mount it will depend on your wall material. If you’re mounting it in drywall without a stud, I like to use toggle bolts rated to hold at least twice the weight of the mirror. Use multiple mounting points to distribute the weight. If you’re mounting in tile, put masking tape over the area you want to drill through. That way, the drill bit won’t slip and damage the surface of the tile.
In an older home with plaster walls, be especially careful because of the crumbly nature of the material. Use specialized anchors for plaster and drill at slower speeds. If you’re mounting in brick or stone, it’s often best to use a mounting system that attaches to the mortar joints as opposed to the brick or stone. Stone and brick can be unpredictable when you drill into it. It acts differently in different places, so you need to be careful. As a rule of thumb, if you have a mirror that’s heavier than 50 pounds, you’re going to want to use a cleat mounting system regardless of the wall you’re attaching it to.
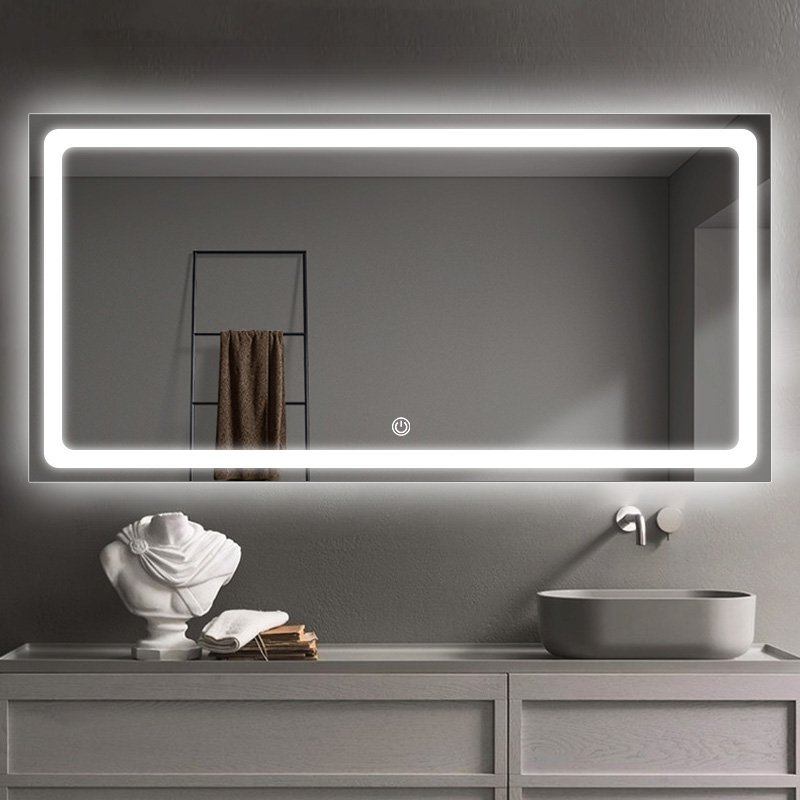
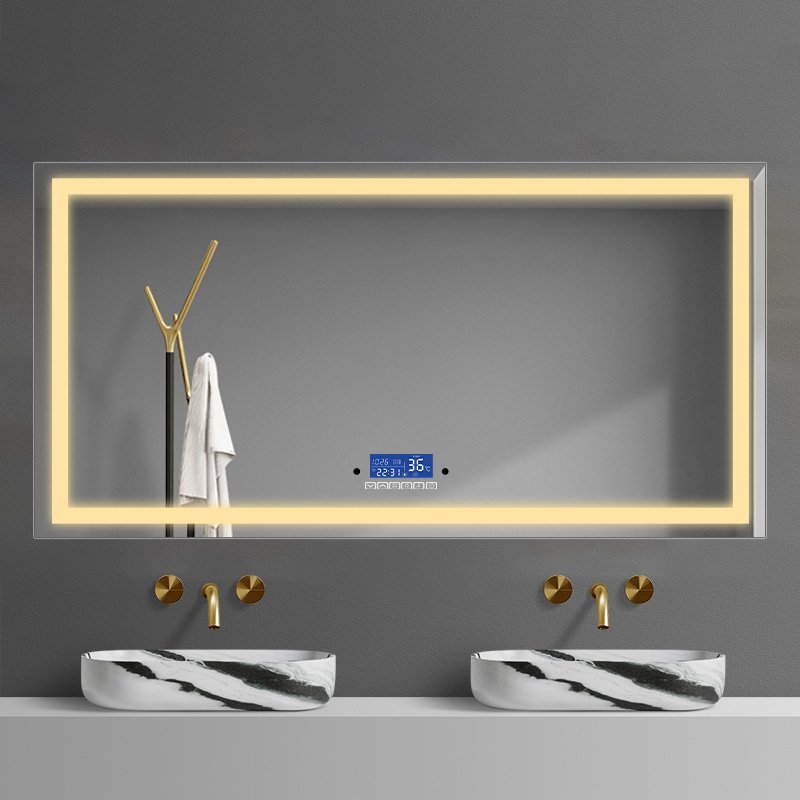
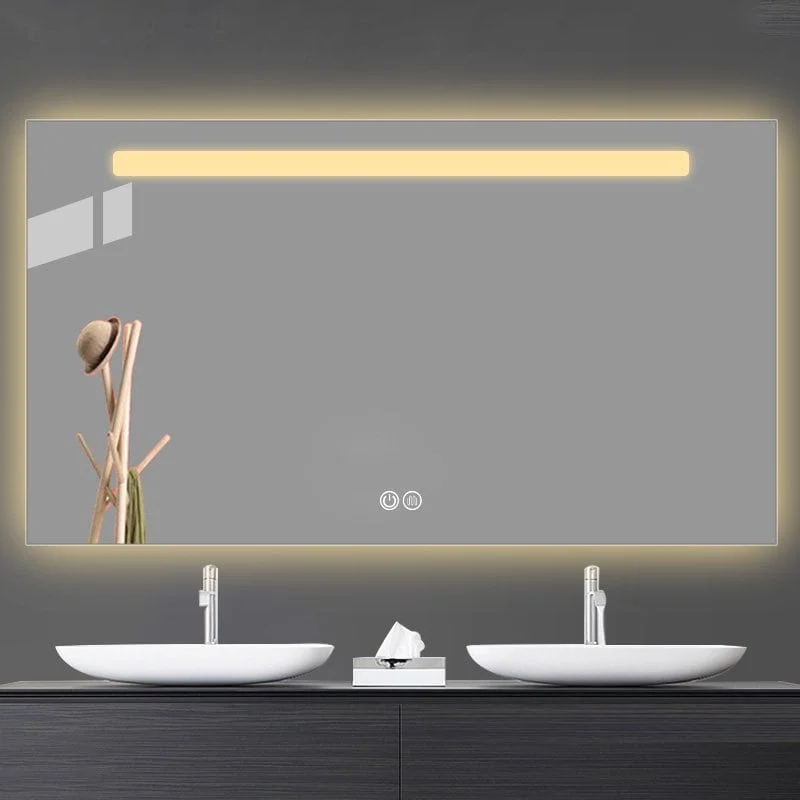
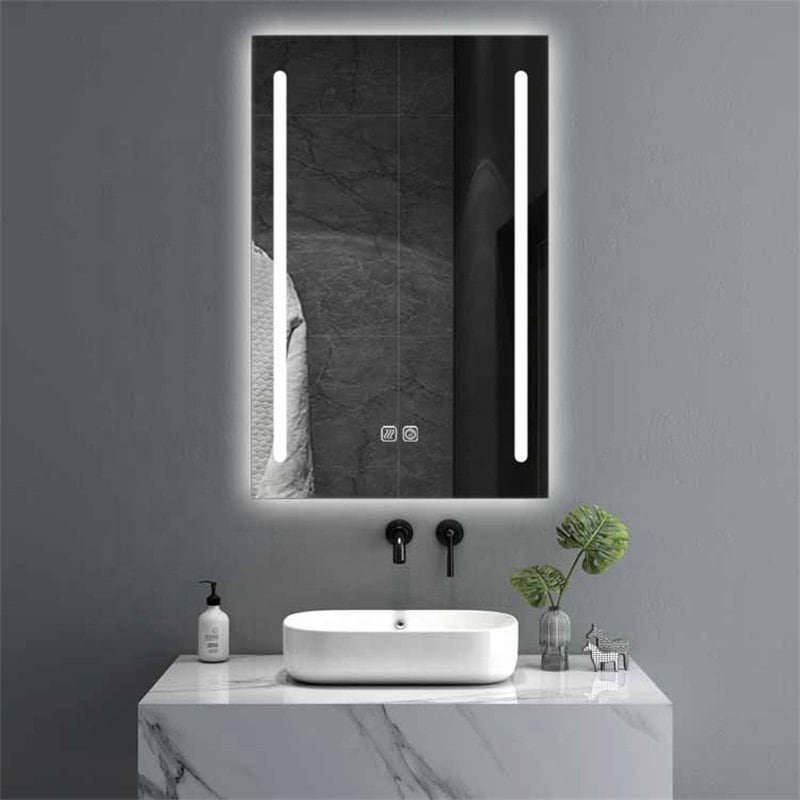
Special Installation Considerations for LED Mirrors
LED mirrors have their specific mounting considerations because you also need to install the lights as part of the mounting process, not after.
When installing LED bathroom mirrors, ensure access to electrical outlets or plan for hardwiring. Keep electrical connections away from water sources, verify the correct voltage, and follow the manufacturer’s specific mounting instructions for sensors and switches location.
LED light mirror vanity products combine functionality with aesthetic appeal but demand careful installation. There are some specific things to keep in mind when installing LED mirrors that you wouldn’t have to worry about with a normal mirror. For hardwired LED models, you might need to consult with an electrician to make sure you’re compliant with local electrical codes. This is especially true in a bathroom where there are strict regulations about electrical fixtures near water. Don’t install your mirror right next to a wall sconce because those lights will diminish the effect of your LED lighting.
If it’s a lighted vanity mirror, there are usually specific wiring diagrams that are going to go with it. There may even be a mounting template that will come with the mirror. Use these. They’ll keep you from screwing something up, drilling through a wire, and damaging the mirror. If it’s a lighted mirror that has adjustable color temperature settings, be sure to test the mirror in the space where you plan to install it before you permanently mount it. LEDs can look one way in the bright lights of the store and an entirely different way in your bathroom.
How to Hang Heavy Mirror
Mounting a heavy mirror isn’t something you’re going to want to trust to just any screws and mollies.
For heavy mirrors weighing over 50 pounds, use heavy-duty mirror hangers or French cleats rated for at least 1.5 times the mirror’s weight. Always anchor directly into wall studs or use multiple heavy-duty wall anchors, and have at least two people assist with the hanging process.
When working with particularly heavy glass mirrors, consider the wall’s structural integrity before proceeding. Plaster or older drywall may not support substantial weight regardless of the hardware used. For maximum security, create a support framework by installing a horizontal wooden cleat across multiple studs, then attach your mirror hardware to this foundation. This distributes the weight more evenly across the wall structure.
You could also put some construction adhesive on the back of the brackets or clips that are holding your mirror. This provides some further support. After you get the mirror up, don’t mess with it, don’t move it, don’t wiggle it, and don’t try and adjust its position because you continue to put stress on those glass clips and fasteners.
How to Hang Heavy Objects on Wall
The same principles apply to hanging other heavy items on a wall, too. Whether you’re hanging a big ancient clock, a brass plate or a mask from Africa, the same recommendations hold true.
When hanging any heavy object, identify wall studs whenever possible, use anchors rated for at least twice the object’s weight, distribute the load across multiple attachment points, and verify level installation before releasing the full weight onto the mounting hardware.
Understanding how to work with different wall materials would be the first step to mounting heavy objects. It doesn’t matter what kind of hardware you use either. If you try to hang something on standard drywall with a plastic anchor, your max weight is usually 5-10 pounds. If you use a toggle bolt, you can go up to around 10-25 pounds. If you are anchoring some directly into the studs, then you can hold almost anything.
For concrete or brick walls, you’ve got to use anchors that are made for masonry. You really need to use a hammer drill to get that anchor to set properly. If at all possible, you can get a board up that can span multiple studs. Then you can attach whatever it is you’re hanging onto that board. This requires doing some serious thought about how you’re going to attach some of these anchors into the floor or other things to transfer the weight down instead of just outward.
Any time you hang something heavy on a wall, you should have an assistant to help. Use temporary supports to hold the item while you secure the attachment properly. Typically, stack up some books or get something that’s sturdy such as a couple of other pieces of furniture to make sure everything is going to be alright.

How to Hang a Mirror on a Wall Without Nails
If you don’t want to pound a nail into your wall, there are many other great ways to get a good mount.
To hang a mirror without nails, consider using high-quality adhesive hooks, command strips designed for frames, specialized mirror adhesive, or tension rods for smaller mirrors. These methods work best for mirrors under 20 pounds and on smooth, clean wall surfaces.
Proper preparation is necessary if you’re going to use anything like adhesive. You need to clean the wall with alcohol. Get all the dust, oils, and other stuff off that wall because that can interfere with the adhesion. When you use command strips or any type of adhesive product, map out where you need to put them and use more strips than the weight guidelines suggest.
A construction adhesive will hold a tremendous amount of weight. However, for something like a mirror, it will need to cure for 24 to 48 hours. That mirror’s going to cure, and it may need to stay held up with something else temporarily. They also have these special rods that can hold the mirror between the floor and the ceiling. These products can work well in certain instances, but consider the potential for the setup to get knocked over in high-traffic areas.
If you’re in a rental property, consider buying free-standing floor mirrors that have some type of support system. You can also get leaning mirrors, which essentially lean against the wall and almost look like they’re mounted on the wall, but you’re not actually mounting them on the wall. These are both great solutions for bathroom light mirrors and lighted makeup mirrors that you can take with you when you leave the home.
How to Hang a Mirror with Wire
A wire hanging system provides flexibility and ease of leveling if installed correctly. For wire hanging, ensure the wire is rated to hold twice your mirror’s weight, secure it to the frame’s D-rings positioned at one-third from the top, and install wall hardware that can support the total weight at the correct height accounting for wire stretch.
The key to wire installations is selecting the right hardware and accurately measuring everything. Make sure you use coated wire that won’t fray. Also, don’t tie your wire. You should crimp your wire. Crimping tools are fairly inexpensive. They really press that crimp down and secure it. When you crimp, you want that wire pretty tight. You should only be able to depress the wire down 2-3 inches in the middle before you hit your backed-out wall hanger.
Where people make a mistake with wire is that it’s going to hang lower than where you locate your anchor points. Partly because the wire is going to bow around and down, you should hang a heavy mirror with wire at two anchor points instead of one. With a long, heavy mirror, the wire can cause the mirror to shift over time. You need regular wire checks to ensure the wire is not stretching. If you see that bottom wire starting to show any sign of stretching, it’s time to change that wire out.

How to Hang a Mirror Without Hooks on the Back
For a free-hanging mirror, one of the greatest challenges is getting it to hold to the wall.
For mirrors lacking back hooks, consider using mirror mounting clips along the edges, specialized mirror adhesive for frameless styles, or retrofitting the back with D-rings and wire. Mirror mounting clips work well for both framed and frameless mirrors.
When it comes to hanging a frameless or hookless mirror, you must understand the structure of the mirror itself. If you’re dealing with a mirror that has a frame around it, you can usually use D-rings or sawtooth hangers on the back of that frame. Use the appropriate screws to attach the D-rings or sawtooth hangers to the frame itself. Then, hang the mirror like you would any other framed picture or piece of artwork. Mirror mounting clips work well for rectangular or square bathroom mirrors. The mirror clips will hold the mirror tightly. You must use bottom clips to support the weight and side/top clips to prevent the mirror from tipping.
Using clips is a smart approach to hanging a frameless or hookless mirror. To prevent scratching and provide cushioning, put rubber bumpers where the mirror contacts the wall. If you’re really trying to add sophistication, or you have something like a powder room where the aesthetics are essential, consider a standoff mounting system designed to hold the mirror a half inch or so off of the wall. This method creates a beautiful floating effect, especially with a backlit bathroom mirror. Now, you’ve added a decorative, elegant touch to some modern lighted mirrors, and you’ve figured out how to hang something that doesn’t have a hook on the back. Whatever you choose, make sure it’s at least 50% stronger than the weight of your mirror.
How to Hang a Frameless Mirror on a Wall
Frameless mirrors require special consideration when it comes to supporting their weight and securing them to the wall.
For frameless mirror installation, use specialized mirror clips or J-brackets designed for edge mounting, mirror mastic adhesive for seamless look, or standoff hardware for a floating effect. Ensure all hardware contacts only the mirror’s edges to prevent damage to the reflective backing.
The clean lines and elegant simplicity of frameless mirrors require a little extra care during installation. When using clips, space them so that they’re distributed somewhat evenly around the perimeter of the mirror. Typically, you’ll have at least two clips on the bottom edge of the mirror. Then, you’ll have one or two per side and possibly one or two on the top edge. Look for rubber-lined mirror mounting clips which prevent the glass from ever coming into contact with the metal of the clip itself.GroupLayout’s overhanging category shows you how to hang items with picture wire and a hook or with a plate and ring.
Mirror mastic can be used to mount a mirror. You apply it in dollar-sized dots to the back of the mirror. The mastic expands and contracts, allowing you to mount the mirror to the wall very effectively. This technique is handy when you’re dealing with a bathroom vanity mirror, and you want to avoid any clips or any brackets that might otherwise disrupt the clean design of the mirror. If you want to get really fancy and install a wall mirror with lights or light up vanity mirrors in a showcase installation, consider standoff mounts. Standoff mounts hold the mirror away from the wall, giving it a floating effect. They also provide you with very secure attachment points for your mirror. The last thing I would say is when you’re hanging a frameless mirror, be very mindful and careful with it. Use suction cups to handle it, and consider wearing gloves to avoid getting finger marks all over the glass. Make sure that you don’t chip or damage the edges of the mirror during placement.
How to Hang a Frameless Bathroom Mirror
Bathrooms create entirely different problems based on the humidity and moisture in the room.
When installing frameless bathroom mirrors, use stainless steel or brass hardware resistant to corrosion, apply silicone sealant around edges after mounting to prevent moisture penetration, and ensure all electrical components for lighted vanity mirrors for bathroom use are properly rated for damp locations.
Because of the humidity and moisture in bathrooms, you have to be extra cautious about the hardware you use to mount frameless mirrors. You don’t want something that’s going to rust and stain the walls or fall apart and cause your mirror to come crashing down. When you’re dealing with a larger frameless mirror in your bathroom, create a cleat that runs along the bottom edge of the mirror to support the weight and distribute it properly without the need to drill additional visible holes in your wall.
When mounting backlit mirrors or LED bathroom mirrors, ensure proper ventilation behind the mirror to prevent condensation buildup that could damage electrical components or the mirror’s reflective backing. After installation, apply a thin bead of silicone caulk around the perimeter, particularly along the top edge, to prevent water from seeping behind the mirror – this is especially important for mirrors mounted near showers or tubs. For rental properties where permanent installation isn’t possible, consider vanity mirrors with LED lights that can be freestanding on countertops while still providing the functionality of built-in fixtures.
How High to Hang Full Length Mirror
The correct height for a full-length mirror depends on the users’ heights and the intended functionality of the mirror.
For optimal full-length mirror placement, position the mirror so its bottom edge is 8-10 inches from the floor and its top reaches at least 6 feet high. For households with varying heights, center the mirror vertically to accommodate the tallest and shortest users.
Finding the ideal height for a full-length mirror requires considering both functional and aesthetic factors. In dressing areas, position the mirror to reflect a complete view from head to toe, accounting for shoes and accessories. For design purposes, maintain proportion with surrounding furniture – a full-length mirror above a console table should have its bottom edge 4-6 inches above the furniture surface.
In small spaces, properly positioned full-length mirrors create the illusion of greater depth and height – particularly effective with led mirror technology that provides additional ambient lighting. When mounting to doors, ensure the mirror doesn’t extend beyond the door edges and use specialized door hanging hardware that prevents movement. For children’s rooms, consider adjustable mounting systems that can be raised as they grow. Always ensure adequate viewing distance – typically 3-6 feet of clear space – to allow users to see their complete reflection.

Living Room Mirror Decorating Ideas
In addition to their functional purposes, mirrors can transform your living space and add beauty to your home.
For living room mirror decorating, consider oversized mirrors to amplify light and space, groupings of smaller mirrors for visual interest, mirrors with black frames for contemporary style, or illuminated LED mirrors for both functional lighting and modern aesthetics.
Placing larger mirrors across your living room from the windows lets them bounce natural light all over the room and double the light in that space. Observe potential locations and areas in your living room where unique architectural elements like fireplaces, chandeliers, and architectural moldings would create visual interest as they’re reflected in the glass.
Create a gallery wall where you mix framed mirrors of various sizes along with different pieces of artwork to create an eclectic yet cohesive look. If you have a contemporary home, consider using rectangular bathroom mirrors from elsewhere in the house to give your living room clean lines and a very minimalist feel. Also, experiment with the shape of mirrors in your living room. Round mirrors can help soften a room that has a lot of straight edges and angular elements. On the other hand, geometrically shaped mirrors can add visual excitement to a room that might be a bit on the boring side.
Modern lighted mirrors designed for bathrooms can find new purpose in living areas, providing both decorative presence and practical illumination for darker corners. When using multiple mirrors, unify them through consistent framing, shape, or positioning to create intentional design rather than visual confusion. These room mirror ideas enhance both the functionality and beauty of your living spaces.
Post-Installation Checks and Maintenance Tips
Once you’ve mounted your mirror, be sure to check everything thoroughly and continue to inspect it at regular intervals.
If you have a mirror hanging in your home, how do you ensure it’s safe? Here are a few pointers. First, periodically check all the mounting hardware to make sure it’s tight. Second, make sure it’s hanging level, which you can check with a small bubble level. Third, give it a little press with your hand to make sure there’s no play in the mirror. If you have an LED bathroom mirror, make sure you test out all the electrical functions before you finalize the installation.
For lighted vanity mirrors or backlit mirrors with special functions like defogging or Bluetooth capabilities, maintain a record of the installation date and any maintenance performed to track performance over time. Large or heavy mirrors should be reinspected annually, paying special attention to the condition of wall anchors and brackets, which can deteriorate over time due to humidity, especially in bathroom environments. By following these maintenance protocols, your properly mounted mirror will provide both functionality and beauty for many years to come.
Proper mounting is all about the planning. It’s about using the right tools and the right attention to detail. With everything we’ve covered, you should be able to safely hang any kind of mirror that you want in your home.
- To learn how to pick the right bathroom mirror click here.
- To learn how to install a mirror choose here.
- To learn how to pick the right size mirror click here.
- To learn how mirrors are made click here.
- Click here and you will learn why we look better in mirrors.
- Click here you will learn about the TOP 10 led mirror manufacturers for 2024.
- Click here to find out Why doesn’t my vanity mirror light come on?
- Find out How Tall Should Bathroom Mirror Be?Click Here
- Click here if you don’t know how to clean your mirror
- To find out how to fix Touch Sensor Mirror Not Working click here