


|
Mendapatkan anda Trinity Audio pemain siap ...
|
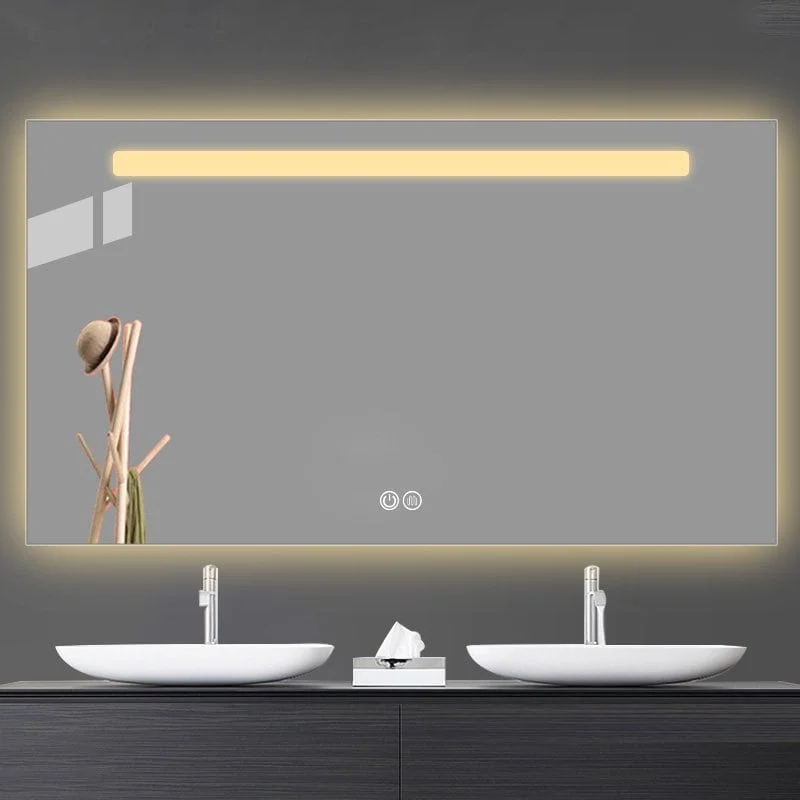
How to clean a mirror properly?Dirty mirrors with water spots and streaks create an unprofessional appearance in your bathroom. Using incorrect cleaning methods on your LED mirror or lighted vanity mirror can permanently damage the electronic components and void your warranty.
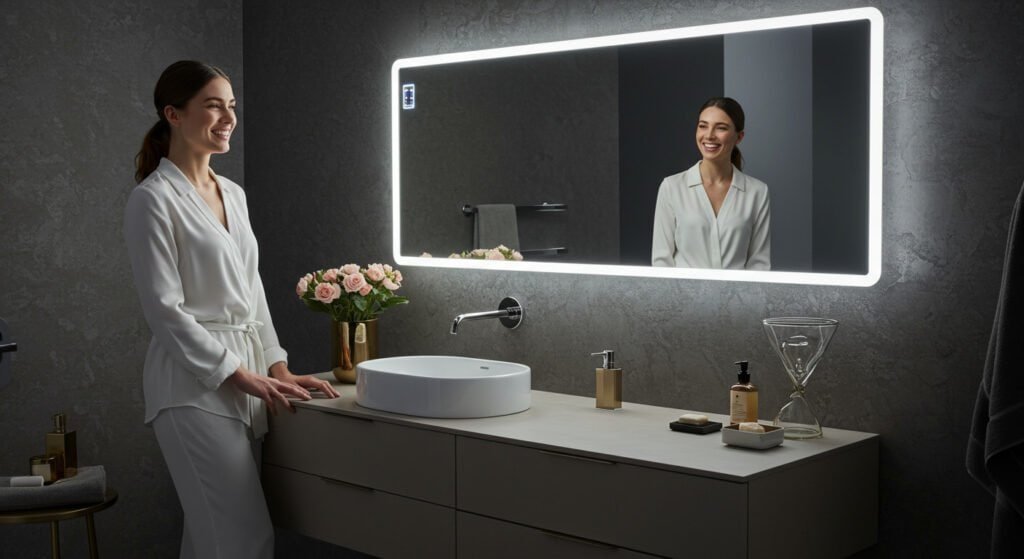
The proper method for cleaning LED mirrors involves disconnecting power, using appropriate cleaning solutions, applying gentle circular motions with microfiber cloths, and carefully avoiding all electronic components including sensors, Kawalan sentuhan, and LED strips to maintain optimal performance.
Understanding the correct cleaning process ensures your modern lighted mirrors for bathrooms remain spotless and functional for years to come.

How to Clean a Mirror Properly with Vinegar
Vinegar provides an effective natural cleaning solution for LED mirrors when used correctly with proper dilution ratios.
Mix equal parts distilled white vinegar and distilled water in a spray bottle, apply to a microfiber cloth rather than directly on the backlit mirror, and clean using gentle circular motions while avoiding all electronic components and LED strips.
White vinegar’s natural acidity effectively dissolves water spots, soap residue, and mineral deposits that commonly accumulate on bathroom vanity mirrors. Create your cleaning solution by combining one cup of distilled water with one cup of white vinegar in a clean spray bottle. This dilution ratio provides optimal cleaning power while remaining gentle enough for regular use on your vanity lights and mirror surface.
Always spray the solution onto your cleaning cloth first rather than directly onto your light up vanity mirror to prevent moisture from reaching electrical components. Work the solution across the mirror surface using overlapping circular motions, paying special attention to areas with visible water spots or buildup. The vinegar solution works particularly well on modern bathroom mirrors because it leaves no chemical residue and naturally repels future water spotting. After cleaning, use a dry microfiber cloth to remove any remaining moisture and restore the mirror’s brilliant shine.
What Should You Not Clean Mirrors With?
Certain cleaning products and materials can cause irreversible damage to your LED bathroom mirror and its electronic components.
Never use ammonia-based cleaners, abrasive scrubbers, bleach, or acetone on lighted vanity mirrors as these chemicals can damage the LED strips, corrode electrical connections, and create permanent clouding on the mirror surface.
Ammonia-based products are particularly harmful to LED mirrors because they can seep into the electronic housing and cause corrosion of delicate circuitry. Steel wool, rough sponges, and paper towels with coarse fibers can scratch the mirror surface and damage the protective coating around LED strips.
Bleach-containing products may discolor the frame of mirrors with black frame and compromise the seal around electronic components. Acetone and strong solvents can dissolve adhesives holding LED strips in place and damage the backing material of your vanity mirror with LED lights. Di samping itu, avoid soaking any area near electrical components, control panels, or sensor areas on your lighted bathroom mirror.

How to Clean a Mirror Without Streaks
Achieving a streak-free finish on your LED vanity mirror requires specific techniques and proper tools.
Use distilled water mixed with a small amount of dish soap, apply with horizontal strokes followed by vertical strokes using a clean microfiber cloth, and finish with a dry lint-free cloth to eliminate all streaks from your bathroom vanity mirror.
The key to streak-free cleaning lies in the systematic approach and quality materials. Start by ensuring your lighted vanity mirror is completely cool and disconnected from power. Prepare a solution using one cup of distilled water with just two drops of gentle dish soap. Spray this mixture onto your microfiber cloth rather than directly onto the LED light mirror vanity to prevent moisture from seeping into electronic areas.
Clean the mirror surface using horizontal strokes from left to right, then follow with vertical strokes from top to bottom. This cross-pattern technique ensures complete coverage and prevents streaking. Complete the process by using a separate dry microfiber cloth to polish the surface, working in small circular motions. For rectangular bathroom mirrors with extensive surface area, work in sections to maintain control over the cleaning solution before it dries.
How to Clean Mirrors Without Vinegar
Alternative cleaning solutions work effectively for those who prefer to avoid vinegar odors or have sensitivities to acidic cleaners.
Combine two tablespoons of cornstarch with one cup of warm distilled water to create a natural cleaning paste, or use a mixture of gentle dish soap and water for effective cleaning of your wall mirror with lights without vinegar’s strong scent.
Many effective vinegar alternatives exist for maintaining your LED mirror. A cornstarch solution works exceptionally well because the fine particles provide gentle abrasion to remove stubborn spots while leaving a streak-free finish. Mix two tablespoons of cornstarch into one cup of warm distilled water, stirring until completely dissolved. Apply this solution with a soft microfiber cloth, working in small sections across your lighted vanity mirrors for bathroom.
The cornstarch naturally absorbs oils and residues while providing a protective coating that resists future spotting. Another excellent alternative involves mixing one teaspoon of gentle liquid dish soap with two cups of distilled water. This solution effectively removes soap scum, toothpaste splatters, and general bathroom residue from your modern lighted mirrors for bathrooms. For those seeking completely natural options, club soda works well due to its natural carbonation, which helps lift dirt and grime from the mirror surface without leaving residue.

How to Clean a Mirror Without Glass Cleaner
Commercial glass cleaners are unnecessary when household items can provide superior results for your LED bathroom mirror.
Distilled water alone, or combined with a small amount of liquid dish soap, effectively cleans lighted makeup mirrors while eliminating concerns about chemical damage to electronic components and providing cost-effective maintenance solutions.
Professional cleaning results can be achieved using simple household ingredients that are gentler on electronic components than commercial products. Pure distilled water works effectively for routine maintenance cleaning of your bathroom mirror, particularly when combined with high-quality microfiber cloths that trap dirt and oils without scratching.
For enhanced cleaning power, add just one teaspoon of gentle liquid dish soap to two cups of distilled water. This solution effectively removes hairspray residue, makeup splatters, and daily grime that accumulates on lighted vanity mirror surfaces. The absence of harsh chemicals makes this approach ideal for backlit mirrors with sensitive electronic components.
Di samping itu, this method proves more economical than purchasing specialized glass cleaners while providing superior results. When cleaning small bathroom mirrors or compact vanity setups, these gentle solutions prevent over-saturation of nearby electronic controls and ensure safe maintenance practices.
How do You Remove Buildup from a Mirror
Stubborn buildup on LED mirrors requires specific techniques to remove deposits without damaging delicate electronic components.
Create a paste using baking soda and water, apply gently with a soft cloth, let sit for five minutes, then remove with clean water and dry thoroughly to eliminate calcium deposits, soap scum, and mineral buildup from your LED light mirror vanity.
Heavy buildup on bathroom vanity lights and mirror surfaces typically results from hard water minerals, soap residue, and calcium deposits that accumulate over time. Begin by disconnecting power to your lighted bathroom mirror and allowing all components to cool completely. Create a gentle abrasive paste by mixing three tablespoons of baking soda with just enough water to form a thick consistency.
Apply this paste to problem areas using a soft-bristled toothbrush or microfiber cloth, working in gentle circular motions. The alkaline properties of baking soda neutralize acidic deposits while providing mild abrasive action to lift stubborn buildup. Allow the paste to remain on heavily soiled areas for five minutes to maximize effectiveness.
Remove the paste using a clean, damp microfiber cloth, ensuring no residue remains around LED strips or electronic housings. For extremely stubborn deposits on your modern bathroom mirror, repeat the process as needed, always following with thorough drying to prevent water damage to electronic components.

Cleaning Techniques for Different Mirror Types
Various LED mirror configurations require adapted cleaning approaches to ensure optimal results and component protection.
| Jenis cermin | Cleaning Method | Special Considerations | Recommended Frequency |
|---|---|---|---|
| Backlit LED Mirrors | Gentle soap solution, avoid edges | Keep moisture away from light diffusion areas | Weekly |
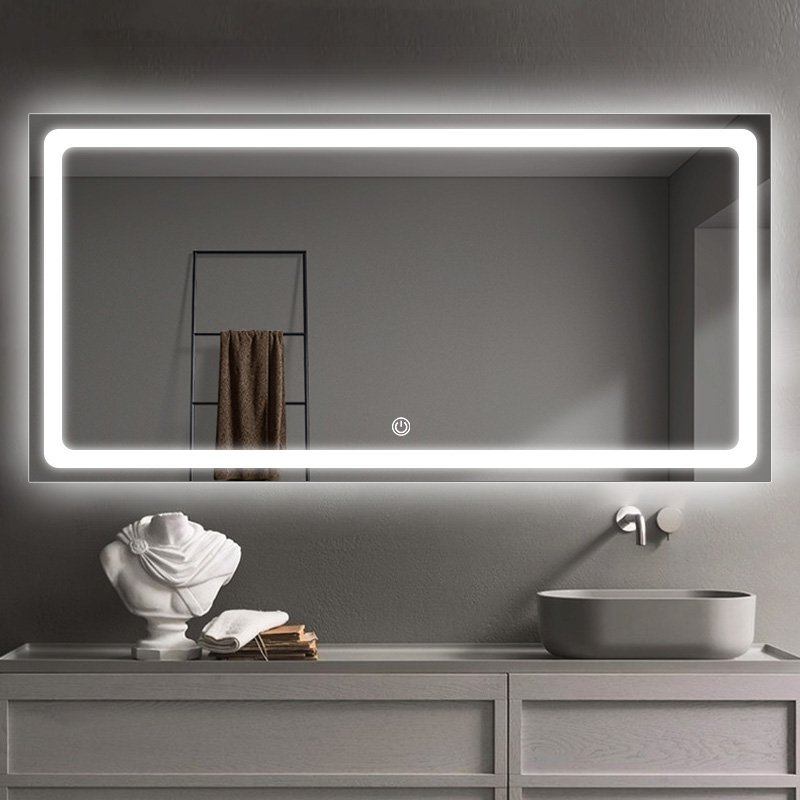
| Touch Control Mirrors | Alcohol wipes for controls, soap solution for mirror | Clean control panel separately with dry cloth | Bi-weekly |
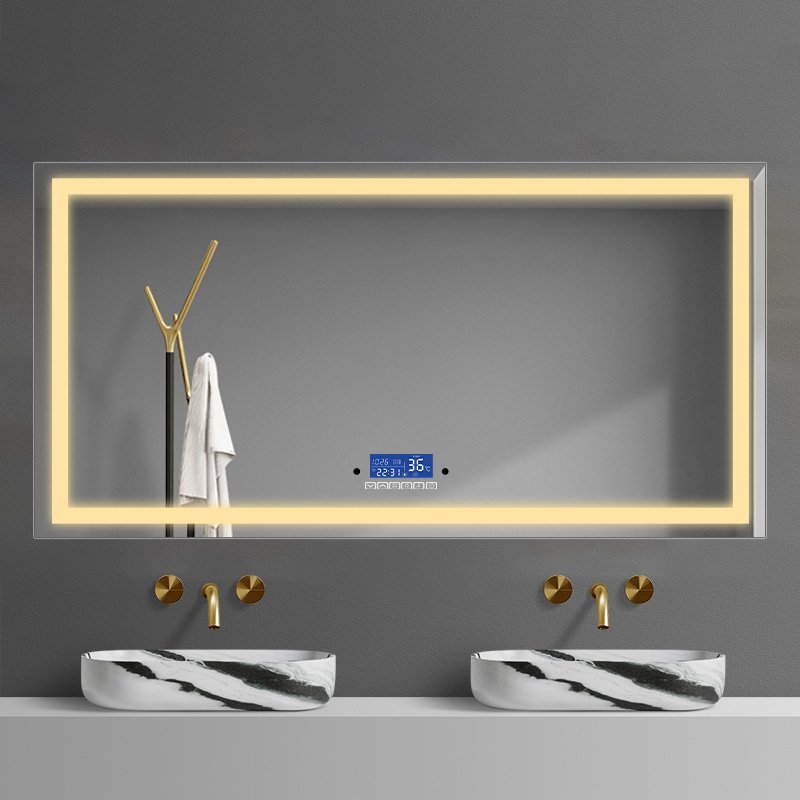
| Smart Mirrors | Microfiber cloth only, no liquids on screen areas | Treat display areas like electronic screens | Weekly |
| Framed LED Mirrors | Frame-specific cleaners, gentle mirror cleaning | Match frame material cleaning requirements | Monthly deep clean |
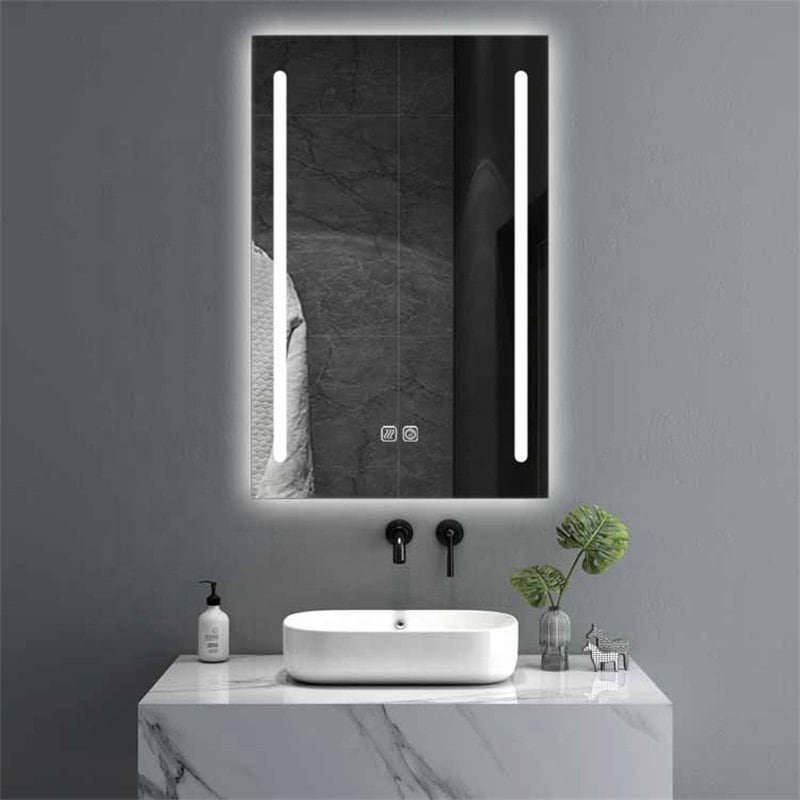
Different mirror configurations present unique cleaning challenges that require specialized approaches. Backlit mirrors feature LED strips positioned behind the mirror surface, creating diffused lighting effects that require careful moisture management during cleaning.
These mirrors need particular attention to edge sealing areas where moisture could potentially penetrate and damage the lighting system. Touch control mirrors incorporate sensitive electronic interfaces that respond to finger contact, making it essential to clean these areas with appropriate electronic-safe cleaning solutions.
Smart mirrors with display capabilities require treatment similar to computer monitors or television screens, where liquid cleaners must never contact the display surface directly. Framed mirrors present additional complexity because frame materials such as wood, metal, or plastic each require appropriate cleaning products that may differ from those suitable for the mirror surface itself.
How to Remove Streaks from Old Mirrors
Older mirrors with aging silvering or worn protective coatings require modified cleaning approaches to restore clarity without causing additional damage.
Use a solution of one part rubbing alcohol to three parts distilled water applied with newspaper or coffee filters instead of cloth, working in straight lines rather than circular motions to minimize streaking on aging rectangular bathroom mirrors.
Aging mirrors present unique challenges because the silvering behind the glass may have developed spots or the protective coating may have deteriorated. These conditions make traditional cleaning methods less effective and can actually worsen streaking problems. Rubbing alcohol proves particularly effective on older LED mirrors because it evaporates quickly and leaves no residue that could highlight existing imperfections.
Create your solution by mixing one cup of rubbing alcohol with three cups of distilled water in a clean spray bottle. Newspaper or lint-free coffee filters work better than microfiber cloths on older surfaces because they do not catch on rough spots or damaged areas that might exist around the frame or edges.
Apply the solution sparingly and work in straight, overlapping lines from top to bottom rather than circular motions, which can highlight imperfections in the mirror surface. This technique proves especially effective on older vanity mirror with LED lights where the frame may show signs of aging but the LED functionality remains intact.

Professional Maintenance Schedule
Establishing a systematic cleaning routine ensures optimal performance and longevity of your LED mirror investment.
| Cleaning Task | Daily | Weekly | Monthly | Quarterly |
|---|---|---|---|---|
| Spot cleaning water drops | ✓ | |||
| Full mirror surface cleaning | ✓ | |||
| Frame and housing cleaning | ✓ | |||
| Electronic component inspection | ✓ | |||
| Deep cleaning and maintenance | ✓ |
Regular maintenance prevents the accumulation of deposits and buildup that can become increasingly difficult to remove over time. Daily spot cleaning involves simply wiping away water droplets and toothpaste splatters immediately after use, preventing these substances from drying and creating stubborn stains. Weekly cleaning sessions should focus on the entire mirror surface using the gentle techniques outlined in this guide, paying attention to areas that receive the most exposure to steam and splashing. Monthly maintenance includes thorough cleaning of the frame, housing, and any decorative elements while inspecting for signs of moisture infiltration or component wear. Quarterly deep cleaning sessions provide opportunities to assess the overall condition of your LED mirror, check all electrical connections remain secure, and perform any necessary adjustments to maintain optimal performance.
How to Clean a Mirror That is Hazy
Hazy mirrors often indicate moisture damage or coating deterioration that requires specific restoration techniques.
Combine equal parts white vinegar and distilled water with two tablespoons of cornstarch, apply with a microfiber cloth in overlapping circles, then polish dry with newspaper to restore clarity to cloudy lighted vanity mirrors.
Mirror haziness typically develops from moisture infiltration behind the glass, soap film buildup, or deterioration of the mirror’s protective coating. This condition frequently affects bathroom mirrors due to high humidity and frequent exposure to steam and cleaning products.
The combination cleaning solution works effectively because vinegar dissolves mineral deposits and soap residue, while cornstarch provides gentle abrasive action and creates a protective barrier against future haziness. Mix equal parts white vinegar and distilled water, then add two tablespoons of cornstarch and stir thoroughly until dissolved.
Apply this solution to your microfiber cloth and work across the hazy areas using overlapping circular motions, applying gentle pressure to work the cornstarch into microscopic surface imperfections. Allow the solution to remain on the surface for two minutes before removing with a clean, damp cloth. Complete the restoration process by polishing with crumpled newspaper, which provides the ideal texture for removing any remaining residue and restoring brilliant clarity to your LED vanity mirror.

Common Cleaning Mistakes to Avoid
Several cleaning errors can permanently damage LED mirrors and void manufacturer warranties.
Never spray cleaning solutions directly onto LED mirrors, use excessive moisture near electronic components, or clean mirrors while they remain connected to electrical power, as these practices risk electrical damage and component failure.
Understanding common mistakes helps prevent costly repairs and ensures safe cleaning practices. The most frequent error involves applying cleaning solutions directly to the mirror surface rather than to the cleaning cloth, which allows excess liquid to seep into electronic housings and potentially cause short circuits or corrosion.
Using excessive amounts of cleaning solution creates similar risks while also making streak-free results more difficult to achieve. Cleaning LED mirrors while they remain connected to power presents serious safety risks and can damage sensitive electronic components if moisture contacts electrical connections.
Another common mistake involves using inappropriate cleaning materials such as paper towels, which can scratch mirror surfaces, or abrasive sponges that can damage LED strip housings. Neglecting to dry electronic areas thoroughly after cleaning allows moisture to remain in contact with sensitive components, potentially causing long-term damage that may not become apparent until components begin failing months later.
Proper LED mirror cleaning requires understanding both traditional mirror maintenance and electronic component protection. Following these proven techniques ensures your bathroom lighting investment continues providing optimal performance while maintaining the pristine appearance that enhances your daily routine.
- Untuk mengetahui cara memilih cermin bilik mandi yang betul klik di sini.
- Untuk mengetahui cara memasang cermin pilih di sini.
- Untuk mengetahui cara memilih cermin saiz yang betul klik di sini.
- Untuk mengetahui bagaimana cermin dibuat klik di sini.
- Klik di sini dan anda akan mengetahui mengapa kami kelihatan lebih baik dalam cermin.
- Klik di sini anda akan mengetahui mengenai bahagian atas 10 pengeluar cermin LED untuk 2024.
- Klik di sini untuk mengetahui mengapa lampu cermin sia -sia saya tidak menyala?
- Ketahui berapa tinggi cermin bilik mandi? Klik di sini
- Klik di sini jika anda tidak tahu cara membersihkan cermin anda
- Untuk mengetahui cara membetulkan cermin sensor sentuh tidak berfungsi klik di sini
- Cari tahu 10 Masalah cermin bilik mandi LED biasa klik di sini