|
당신을 얻습니다 트리니티 오디오 플레이어 준비 ...
|
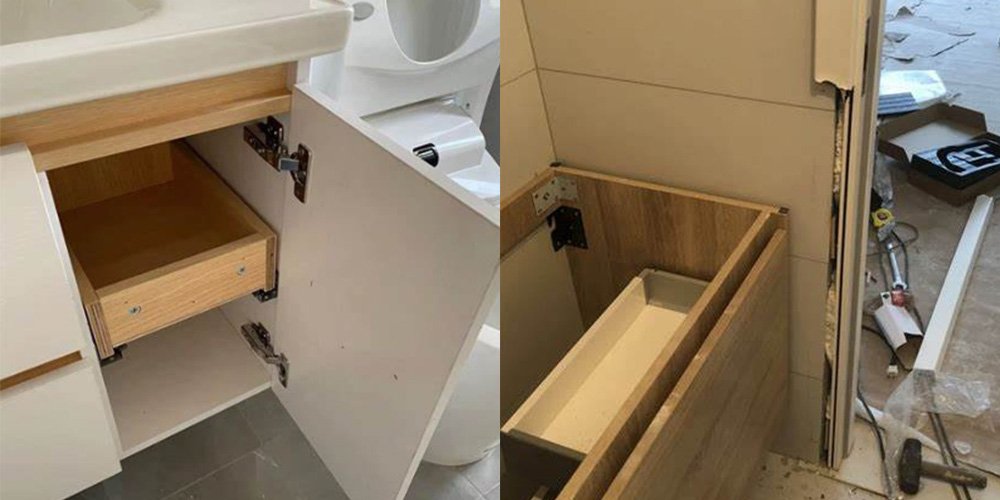
How to remove a bathroom vanity?How to replace bathroom cabinet?Here are some specific steps:
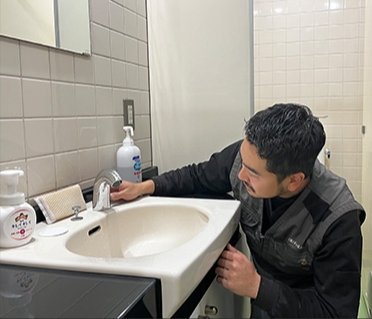
- Prepare tools: you need to prepare necessary tools such as utility knife, screwdriver, socket wrench, pry bar, dust mask, garbage bag and rags before removal.
- Disconnect water pipes and wires: First you need to turn off the water supply, disconnect the water pipes and prepare a few extra rags to catch the water. For light fixtures and outlets, you need to turn off the power and disconnect the wires.
- Remove fittings and decorations: Next you need to carefully remove mirrors, light fixtures, shelves and other decorations, and mark wire connections for subsequent reinstallation, preferably with a helper.
- Remove fixtures and sealant: Afterwards you’ll want to use tools to remove screws and bolts around the sink and use a utility knife to cut the sealant between it and the wall.
- Gently remove the sink: After the fixtures and sealant have been removed, you can start by trying to lift the sink off the wall and use a pry bar to loosen any stuck parts.
- Clean up the work area: Finally you’ll need to thoroughly clean up the area left by the old sink and repair any wall damage caused by the removal.
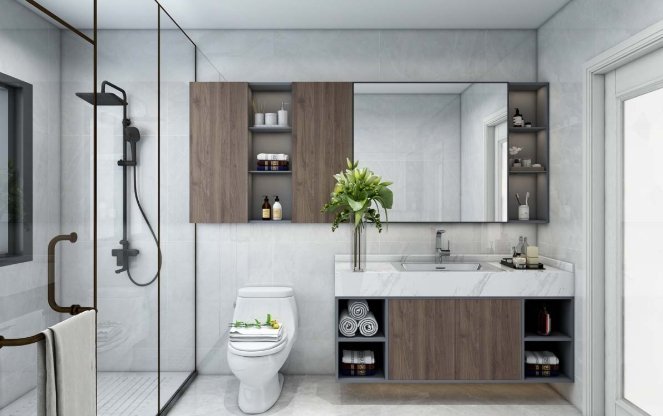
To replace bathroom cabinet can be more than just a simple home improvement project—they are a transformative journey that combines technical skill, creative vision, and strategic planning. Removing and replacing a vanity is a complex process that goes far beyond mere aesthetics, touching on critical aspects of home design, functionality, and value.
The Deeper Motivation Behind Replace Bathroom Cabinet
Beneath the surface, vanity replacement addresses critical home maintenance concerns. Older vanities can harbor hidden moisture damage, compromise bathroom hygiene, and fail to meet modern ergonomic standards. From outdated plumbing configurations to inefficient storage solutions, an old vanity can be a silent source of ongoing household challenges.
Identifying the Signs of Necessary Replacement
Look for warning signs that indicate your vanity has reached its functional limit:
- Visible water damage or warping
- Persistent mold or mildew growth
- Outdated plumbing connections
- Insufficient storage solutions
- Structural instability
- Misaligned doors or drawers
- Aesthetic obsolescence
Pre-replace Bathroom Cabinet Diagnostic Assessment
Before you even consider lifting a tool, a meticulous pre-removal assessment is crucial. This isn’t just about measuring and planning—it’s about understanding the intricate ecosystem of your bathroom. Professional contractors approach vanity replacement as a holistic diagnostic process, examining far more than just the visible surface.
Structural evaluation begins with a detailed inspection of the wall behind your current vanity. Experienced renovators look for subtle signs of water damage, mold growth, or structural compromise that might not be immediately apparent. This goes beyond a casual glance—it involves carefully examining wall integrity, checking for previous repair attempts, and identifying potential hidden issues that could complicate your renovation.
Structural Evaluation Checklist
Before beginning the replace bathroom cabinet process, conduct a meticulous assessment of your bathroom’s underlying structure. This goes beyond a casual inspection, requiring a systematic approach to identify potential hidden issues:
- Carefully examine the wall behind the existing vanity
- Check for signs of water damage
- Investigate potential mold growth
- Assess structural integrity
- Measure existing plumbing configurations
- Identify electrical outlet locations
Advanced Preparation: Tools and Materials
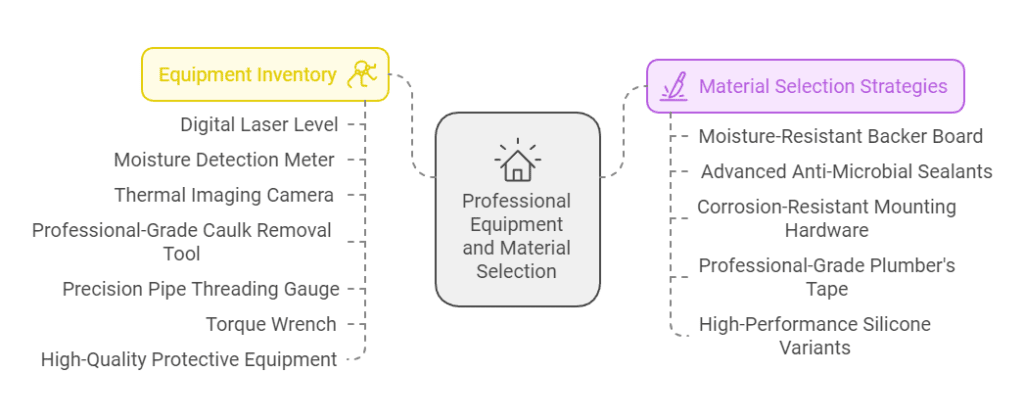
Professional-grade replace bathroom cabinet require more than a standard toolkit. While basic tools are essential, true success lies in selecting specialized equipment that ensures precision and protection. A digital laser level, moisture detection meter, and thermal imaging camera can transform a simple replacement into a professional-grade renovation project.
Material selection is equally critical. Beyond standard components, consider moisture-resistant backer boards, anti-microbial sealants, and corrosion-resistant mounting hardware. These advanced materials might seem like overkill, but they represent a strategic investment in your bathroom’s long-term durability and performance.
Water Disconnection: A Critical First Step
Water disconnection is far more nuanced than simply turning off the main valve. Professional renovators approach this step with surgical precision. This involves locating both primary and secondary shut-off valves, using compressed air to clear water lines completely, and implementing temporary water diversion mechanisms.
The disconnection process requires specialized techniques. Professional-grade pipe wrenches, strategic heat application, and penetrating lubricants become essential tools. The goal is not just disconnection, but a careful process that minimizes potential damage and prepares for a smooth installation of new fixtures.
Bathroom Vanity Replacement Cost: What to Expect
The cost of replace bathroom cabinet can vary widely depending on the size, 스타일, and materials you choose. On average, a standard vanity replacement can cost anywhere from $300 에게 $2,500. If you’re going to a custom design with high-end materials, the cost can go up from there.
A granular cost breakdown might include demolition ($500-$1,500), new vanity ($200-$5,000), plumbing modifications ($300-$1,800), electrical adjustments ($200-$800), and finishing touches ($500-$2,000). Strategic homeowners look beyond immediate expenses, considering long-term value, potential energy savings, and the project’s impact on overall home marketability.
Detailed Budget Breakdown
A strategic approach to replace bathroom cabinet involves careful financial planning:
- Demolition costs: $500 – $1,500
- New vanity: $200 – $5,000
- Plumbing modifications: $300 – $1,800
- Electrical adjustments: $200 – $800
- Finishing and restoration: $500 – $2,000
Tip: Opt for pre-assembled vanities to reduce costs. If you prefer a customized vanity, be prepared for a higher cost due to the need for labor and materials.
Navigating Unexpected Complications in Bathroom Renovations
Even if you plan everything perfectly, a bathroom renovation can be thrown off course by a myriad of things you can’t control. These can delay your project, run up your costs, and impact the quality of the
finished bathroom. Here are some of the most common problems you’ll run into when renovating a bathroom and how to deal with them.
1. Unexpected Structural Issues
Structural problems are often hidden until you start ripping things apart. Water damage, rot, or mold can eat away at the integrity of walls or floors. In older homes, you’re even more likely to run into structural
issues because the house wasn’t built to handle the plumbing and electrical systems we have today.
Solution: Before you start ripping things apart, make sure you have a professional contractor inspect everything. 또한, plan on spending extra time and money on structural repairs, especially if you’re renovating an older home. It’s better to find out about these problems early than to have them pop up and delay your project later.
2. Historical Home Plumbing Configurations
Many older homes have outdated plumbing systems that may not meet modern codes. These outdated configurations can complicate a bathroom renovation, especially if you need to replace pipes or move plumbing fixtures. The difficulty of upgrading old plumbing systems can lead to higher labor costs and delays.
Solution: If you’re working with an older home, make sure your contractor is experienced in modernizing outdated plumbing. They will likely need to reroute pipes, replace old pipes with modern materials, or even reconfigure the layout to meet code requirements. Having a licensed plumber is essential.
3. Building Code Compliance Challenges
Every city, county, and state has building codes you must follow when renovating. These codes can vary widely from place to place. If you don’t follow them, you can be fined, forced to have additional inspections, or even shut down completely.
Solution: Before you start any project, check your local building codes and regulations. Make sure your contractor and subcontractors know what they are doing when it comes to electrical, plumbing, and structural work and that they are following the rules.
4. Hidden Electrical Complications
Electrical problems often rear their ugly head when you’re renovating a bathroom. If the existing wiring isn’t up to modern safety standards, you could have a problem. Outdated circuits or poorly installed fixtures can be a hazard, especially in a high-moisture environment like a bathroom.
Solution: When it comes to electrical work in your bathroom renovation, always hire a licensed electrician. Make sure they know the latest safety standards and can deal with any hidden wiring or grounding problems. If your existing setup needs an upgrade, you may need to install new circuits, outlets, or a grounding system.

5. Potential Hazardous Material Discoveries
Older homes can have hazardous materials such as asbestos, lead paint, or old insulation that is dangerous when disturbed. If you run into these materials during your renovation, you need to act quickly to keep yourself and your family safe.
Solution: If you suspect that hazardous materials might be present in your home, have a professional assessment done before you start your renovation. If they find anything, it will have to be removed by certified experts who adhere to strict safety protocols.
Sustainability and Future-Proofing Your Bathroom Renovation
As trends in bathroom renovations continue to evolve, sustainability and future-proofing have become huge. Not only does eco-friendly design help you reduce your environmental footprint, but it can also save you money over time with lower energy and water bills. By incorporating sustainable practices into your renovation, you can be sure that your bathroom is as modern and efficient as possible.
Eco-Friendly Renovation Approaches
Today’s consumers are all about eco-friendly renovations, and bathroom upgrades offer a ton of opportunities to cut down on resource consumption. Here are some of the top sustainable approaches to consider for your bathroom renovation.
1. Select Environmentally Responsible Materials
Selecting sustainable materials is one of the best ways to make your bathroom renovation eco-friendly. Look for non-toxic, recyclable, or locally sourced materials such as bamboo flooring, recycled glass tiles, or low-VOC paints. These materials have a smaller environmental impact and contribute to healthier indoor air quality.
2. Implement Water-Efficient Fixtures
The bathroom is one of the biggest water hogs in your home. Installing water-efficient fixtures like low-flow showerheads, toilets, and faucets can help you cut down on water usage without sacrificing performance. These fixtures help you save a precious resource and save money on your water bill over time.
Tip: Consider installing a water filtration system to improve water quality and reduce the need for bottled water, further promoting sustainability.
3. Choose Energy-Star Rated Components
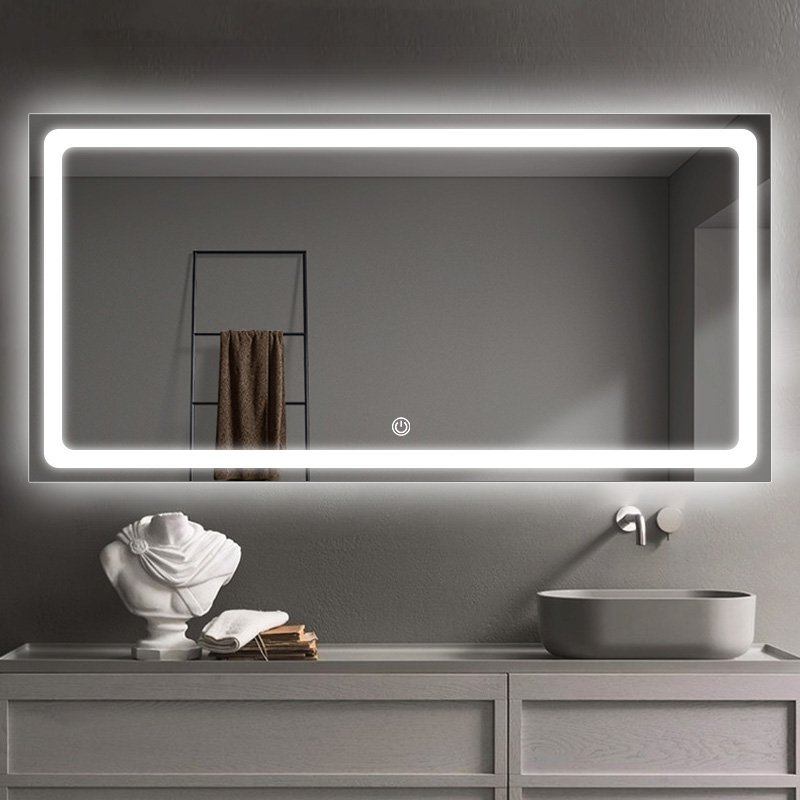
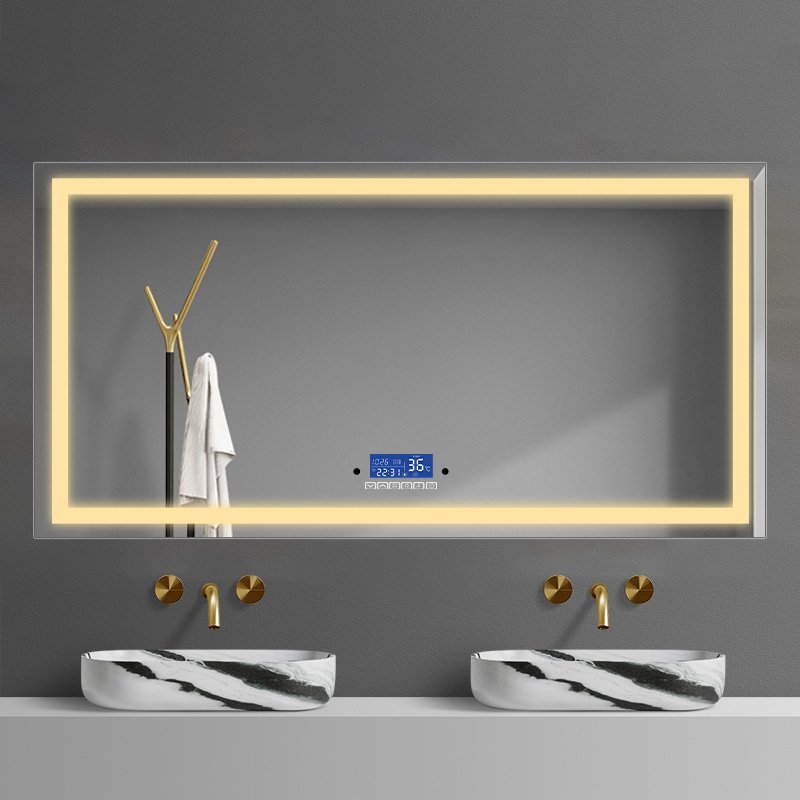
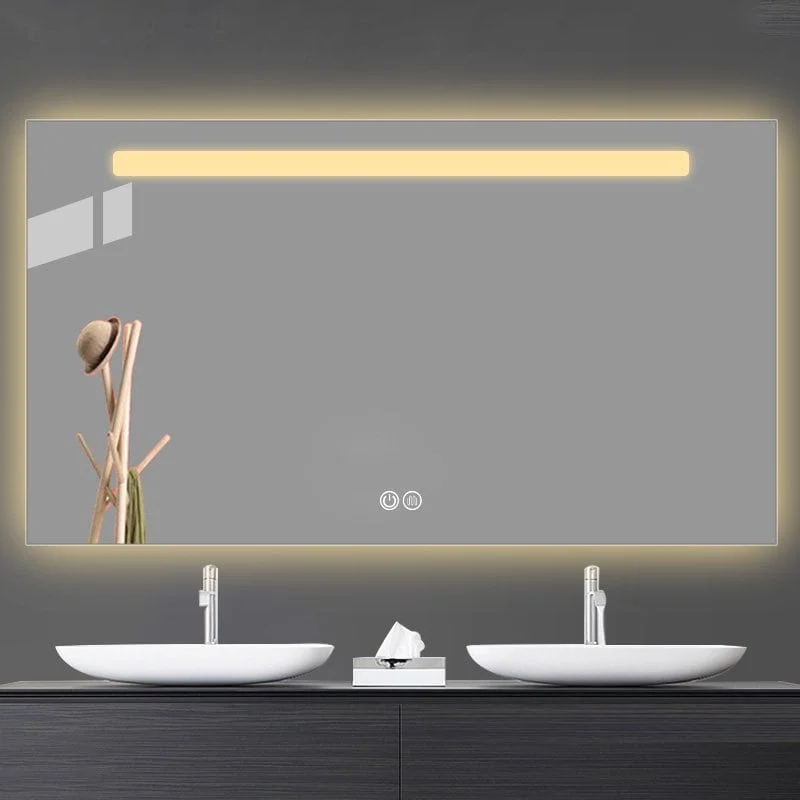
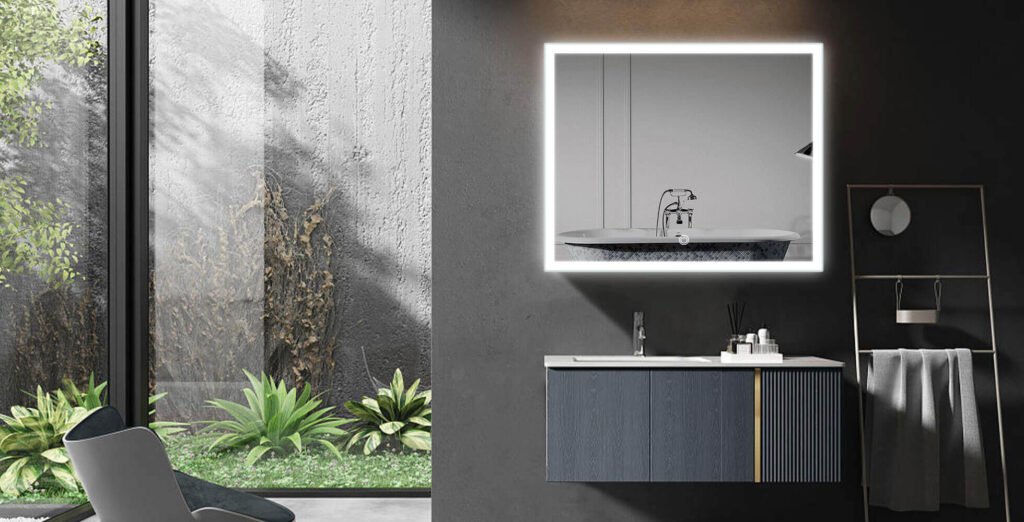
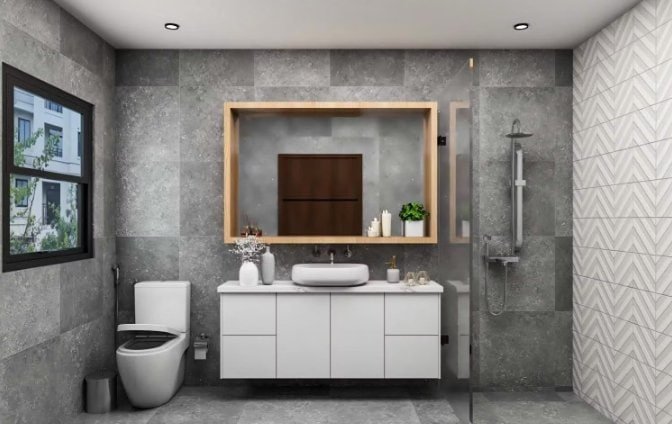
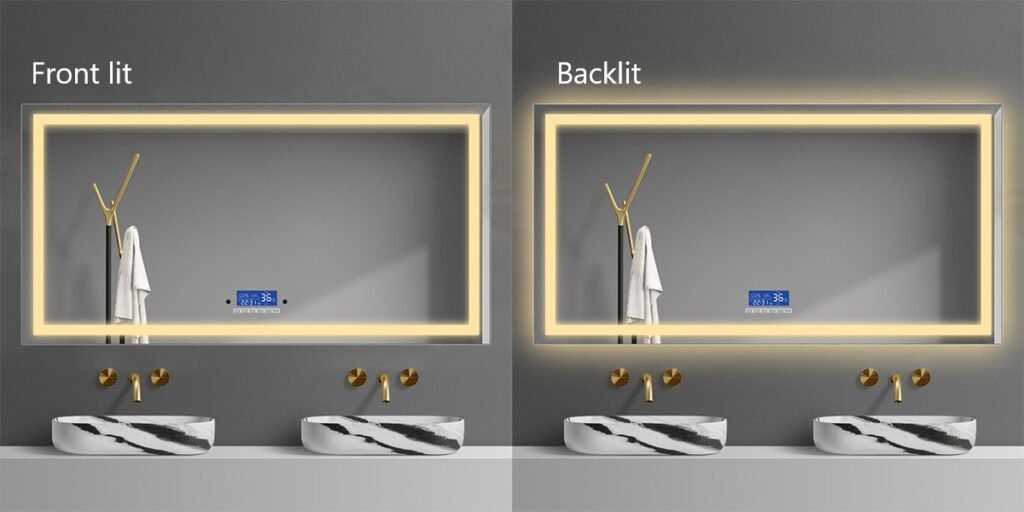
When you renovate your bathroom, think about energy-efficient lighting and appliances. LED lighting is a great choice for bathrooms. You might also look at incorporating energy-star rated items like mirrors with built-in LED lighting or low-energy exhaust fans. These little upgrades can make a big difference in your energy usage.
Tip: LED mirrors are especially beneficial in bathrooms as they provide functional, long-lasting lighting while using far less energy than traditional incandescent or halogen lights.
Consider Long-Term Environmental Impact
Sustainable design isn’t just about what’s happening right now. It’s about creating a space that’s energy-efficient, long-lasting, and adaptable to future needs. With all the talk about climate change and running out of resources, you have to think about how your bathroom renovation can contribute to a more sustainable future.
Solution: When you’re making design choices, think about the long-term durability of the materials and fixtures you choose. You want to pick high-quality, timeless designs that you won’t have to replace every few years. 또한, make sure all your electrical systems, plumbing, and ventilation are set up for energy efficiency.
자주 묻는 질문
When it comes to renovating a bathroom, one of the most common and important things you’ll upgrade is the bathroom vanity. Here’s a guide to help you answer common questions and solve common problems when it comes to bathroom vanities.
How to Install a Bathroom Vanity Top?
To install a bathroom vanity top, you need to measure carefully and seal properly. 첫 번째, make sure the vanity cabinet is securely mounted. Then, measure the top and make sure it’s aligned with the edges of the vanity. Attach the countertop with a strong adhesive and secure it with screws if necessary.
Tip: When installing a vanity top, make sure to use a silicone sealant around the edges to prevent water damage.
How to Replace a Drop-In Bathroom Sink?
To replace a drop-in bathroom sink, you’ll need to remove the existing sink and cut new holes in the vanity countertop if necessary. Start by disconnecting the plumbing and removing the sink mounting clips. Once the sink is free, clean the countertop and install the new sink, making sure it is level and sealed properly.
Tip: If you’re unsure about the plumbing, consult with a professional plumber to avoid leaks or damage.

How to Install a Bathroom Vanity?
How to Install a Bathroom Vanity
- Measure the space to make sure the vanity will fit.
- Mount the vanity to the wall, making sure it’s level. Screw it to the wall and anchor it to the studs for added stability.
- Attach the sink and plumbing fixtures.
- Secure the countertop.
Tip: Always check for level alignment throughout the installation process to avoid crooked fixtures.
Is It Hard to Remove a Bathroom Vanity?
If you need to replace bathroom cabinet, it’s pretty straightforward if the vanity is not permanently attached to the wall. You’ll need to disconnect the plumbing, unscrew any screws or brackets that are holding the vanity to the wall, and then carefully remove it. If it’s an older vanity, you may have to remove caulk or adhesive that was used to secure it.
Tip: If the vanity is heavy, consider having a second person help you to avoid injury or damage to the walls.
How Do You Remove a Vanity Without Damaging the Wall?
If you’re trying to replace bathroom cabinet without damaging the wall, unscrew the vanity from the wall and remove any nails, screws, or caulk that were used to attach it. If it’s stuck, use a putty knife to gently pry it away from the wall. Be careful not to damage the drywall.
Tip: Using a stud finder to locate the screws or nails can help ensure that you remove all fasteners before attempting to remove the vanity.
How Is a Bathroom Vanity Attached to the Wall?
Most are screwed to the wall with screws or brackets that tie the vanity to the wall studs. Some are also glued to the wall with adhesive or silicone caulk for added stability. The method used depends on the design of the vanity and the type of wall material.
Tip: Always check the weight capacity of the wall studs before securing the vanity to ensure it will be properly supported.
How Do I Get Rid of an Old Bathroom Vanity?
To get rid of an old bathroom vanity, you’ll need to remove it carefully and either donate, sell, or dispose of it. If it’s in good condition, donate it to a local charity or sell it on Craigslist or Facebook Marketplace. If it’s damaged or worn out, consider recycling the materials.
Tip: Some disposal companies offer vanity removal services, so you may want to check with your local waste management.
결론: More Than Just a Renovation
To replace bathroom cabinet is more than a home improvement project. It’s a strategic investment in the functionality, appearance, and value of your home. By attacking the process with professional-grade knowledge, 신중한 계획, and a complete understanding, you turn a potentially stressful renovation into a chance for a massive home upgrade.
- Browse this link to check up how mirrors are made.
- Browse this link to see how to choose the right size bathroom mirror?
- To find TOP 10 led mirror suppliers click here.
- To find out How to Fix a Desilvered Mirror click here.
- To find out what is the difference between an expensive mirror and a cheap mirror click here.

