


|
Obtenir votre Trinity Audio joueur prêt ...
|
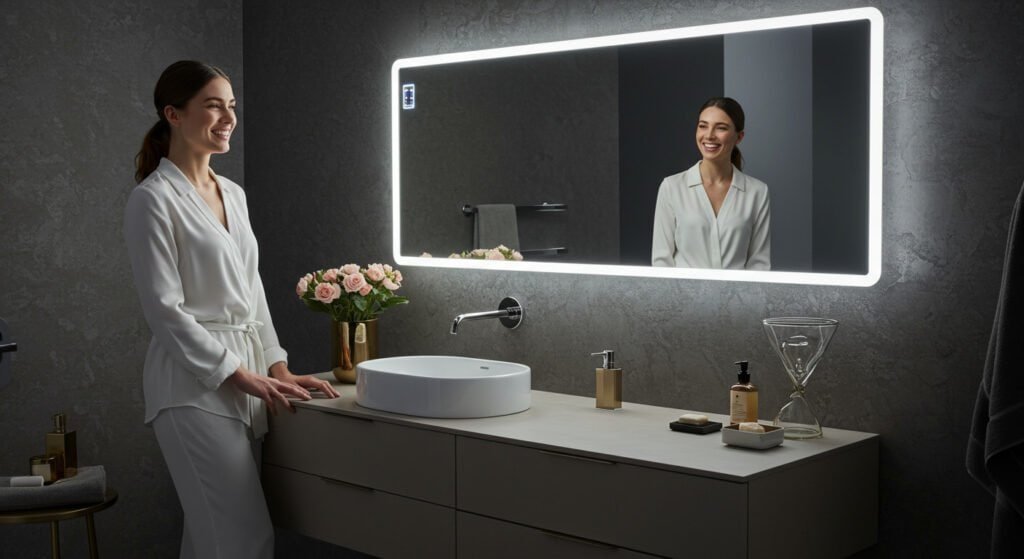
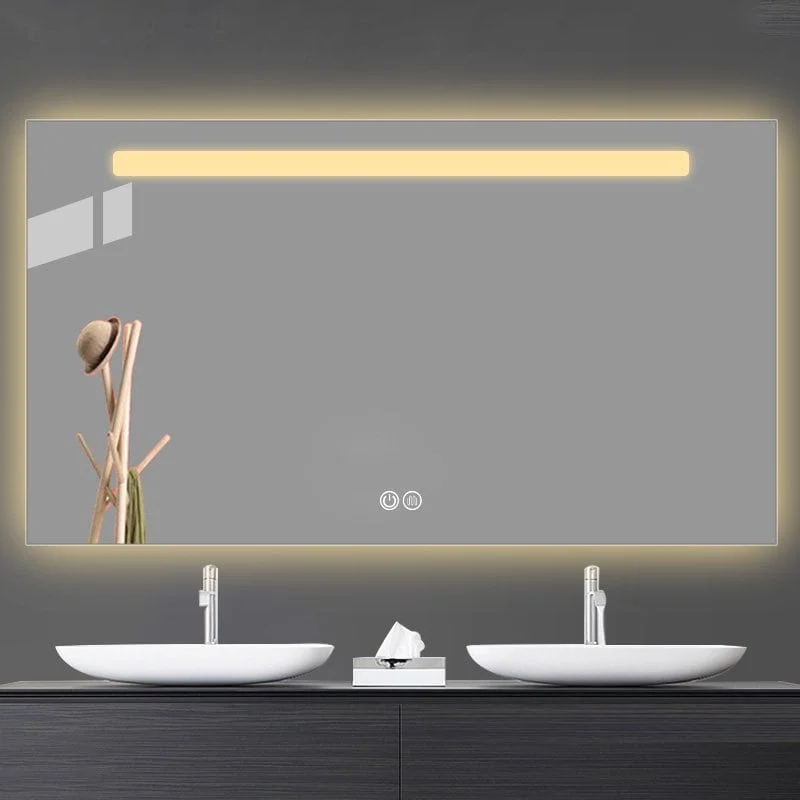
Lutter avec un éclairage inadéquat pendant les routines de toilettage crée de la frustration et de mauvais résultats. Les ombres sombres et l'éclairage inégal rendent une application de maquillage précise presque impossible. Un miroir éclairé DIY transforme votre espace avec un éclairage de qualité professionnelle à une fraction des coûts commerciaux.
Créer un miroir LED DIY avec des lumières implique de sélectionner des bandes lumineuses LED appropriées, measuring and mounting them around your glass mirror, connecting to a power source with proper electrical safety measures, and integrating optional features like touch sensors or dimmer controls. This project typically costs fifty to one hundred fifty dollars and requires basic electrical knowledge for safe installation.
Let us examine the comprehensive process for creating your custom lighted vanity mirror successfully.
What Tools and Materials Do You Need for This Project?
It’s important to carefully consider how you’ll hide your LED rope or strips and power cords for a professional finished look. It’s easier than you think, and with a little planning, you won’t have any cords dangling from your new bathroom lighted vanity mirror.
Essential materials include LED strip lights, compatible power adapter, connecteurs de fils, mounting hardware, ruban électrique, et basic tools including screwdrivers and wire strippers. Optional components such as dimmer switches, capteurs de mouvement, and touch controls enhance functionality for advanced lighted vanity mirror projects.
The LED strip lights should match the perimeter length of your mirror plus an additional 10% for making connections around corners. The power adapter needs to match the LED voltage requirements, typiquement 12 ou 24 volts for LED strips. And last but not least, high-quality wire connectors are a must! Don’t skimp here because you don’t want your connectors rusting in the high humidity environment of the bathroom.
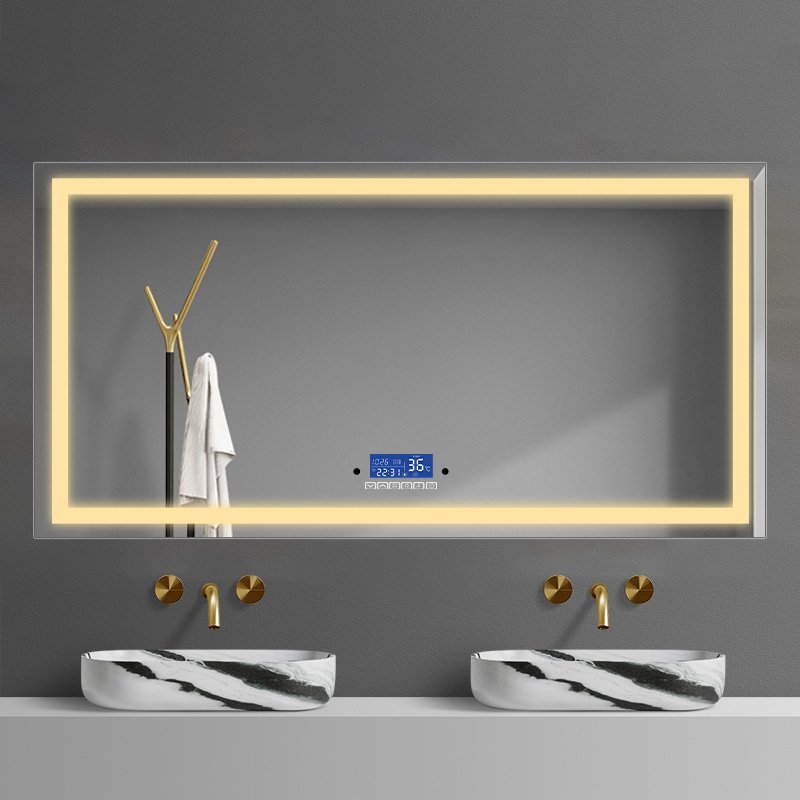
When you’re buying LED strips for your bathroom, consider going with a higher IP rating to help with moisture. Aussi, consider adding a motion sensor so when you walk up to your new lighted bathroom vanity mirror, it turns on automatically. A dimmer switch lets you set the light level exactly where you want it. Enfin, if you’re doing a DIY LED mirror with a touch sensor, make sure the control module works with your strips.
| Composant | Specifications | Estimated Cost | But |
|---|---|---|---|
| LED Strip Lights | 12V/24V, 3000K-4000K, IP44+ | $20-40 | Primary illumination |
| Power Adapter | Match LED voltage, 20% overhead capacity | $15-25 | Alimentation |
| Wire Connectors | Waterproof rated for bathroom use | $5-10 | Electrical connections |
| Mounting Hardware | Adhesive strips or brackets | $10-15 | Secure LED placement |
| Touch Sensor Module | Compatible with LED strips | $15-30 | Optional smart control |
What Type of Mirror and LED Lights Work Best for DIY Projects?
Selecting the right base materials is critical for how successful and long-lasting your project will be. The quality of the mirror, along with the quality of the LED you choose, will determine how well it works and how good it looks.
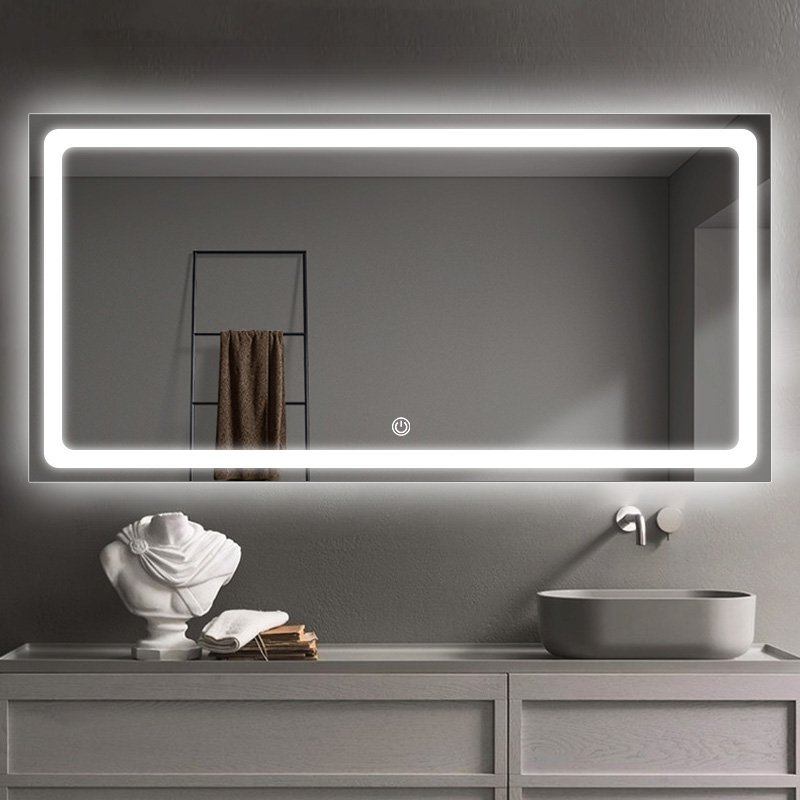
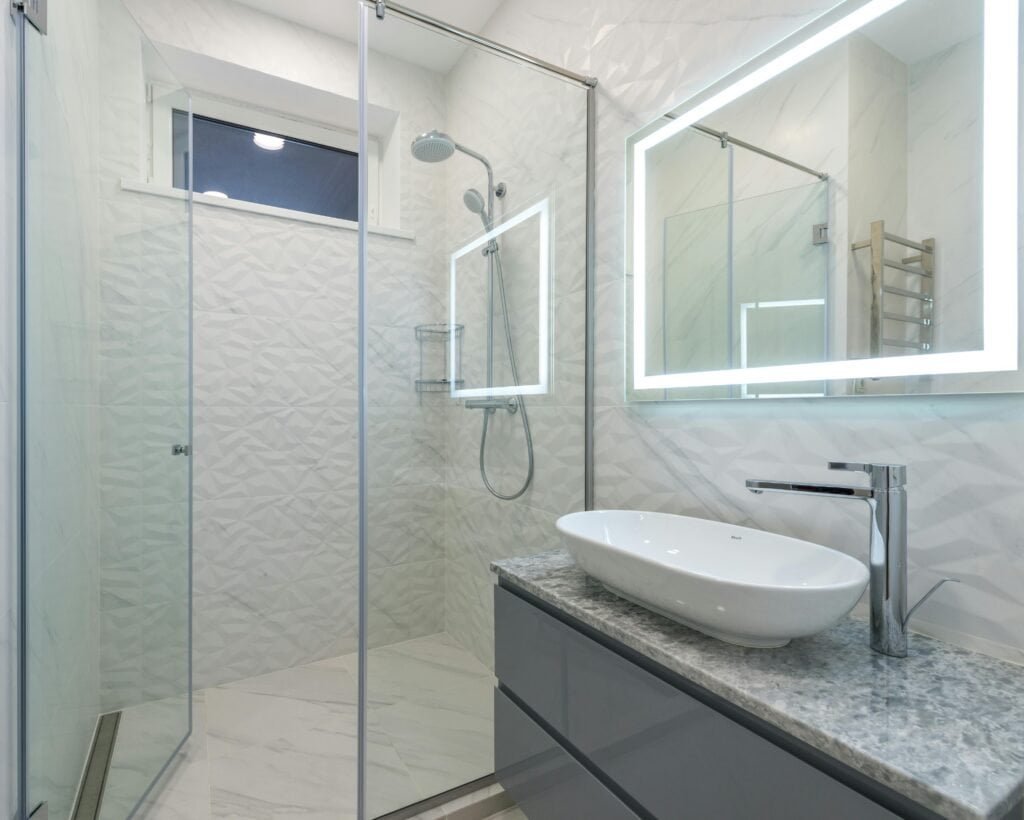
Choose frameless glass mirrors for versatile LED placement or framed mirrors for concealed wiring options. LED strip lights with 3000K to 4000K color temperature provide optimal illumination for grooming tasks while offering superior energy efficiency and extended lifespan compared to traditional lighting.
Frameless mirrors give you the most flexibility but require careful edge finishing so you don’t cut yourself. Modern style framed mirrors offer built-in channels where you can tuck the wires out of the way, and they look very clean. For the LED, I recommend a high-quality LED strip with an adhesive backing specifically made to stick to the mirror.
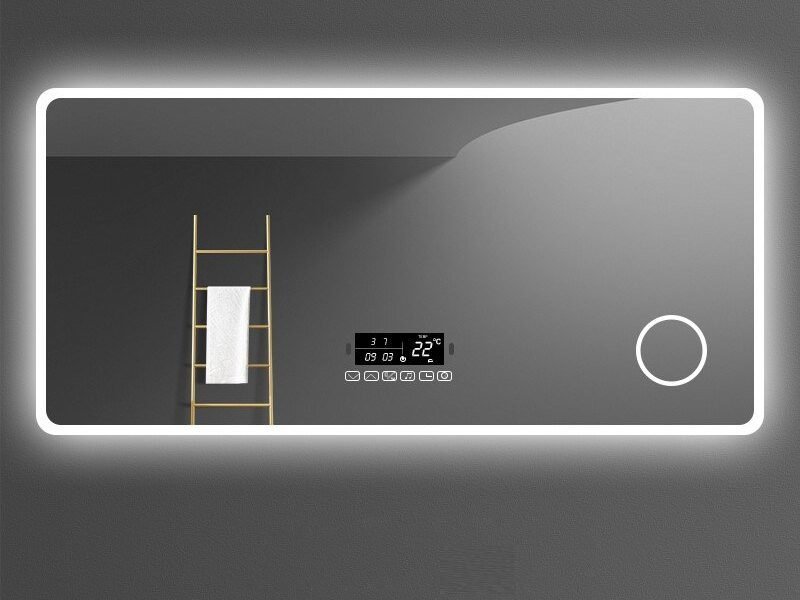
Dimmable LED options enhance versatility by allowing brightness adjustment throughout different times of day. Color temperature significantly affects visual accuracy, with warmer tones creating comfortable ambiance while cooler temperatures deliver precise color representation essential for makeup application. Rectangle bathroom mirrors work particularly well for even light distribution, while small bathroom mirror projects may require shorter LED strips with careful spacing considerations.
How to Turn a Mirror Into a Lighted Mirror?
Turning your bathroom mirror into a lighted vanity mirror requires a little planning and effort. You’ll need to make precise measurements and decide where to put the LED lights. You will also need to figure out the best way to get the electrical wires from the LED lights to the power source without having a bunch of wires hanging everywhere.
Begin by thoroughly cleaning the mirror surface, measure and mark LED strip placement locations, cut strips to appropriate lengths at designated cutting points, connect strips using proper connectors, test all connections before permanent mounting, and secure wiring away from moisture exposure areas.
To begin your lighted vanity mirror project, wipe down the surface well with isopropyl alcohol. Measure each side of your mirror precisely. Alors, you’re going to mark where you are going to cut the LED strip. The reason you can only cut the LED every few inches (or whatever the markings on the strip are) is because that’s the only place the electrical current can continue onward.
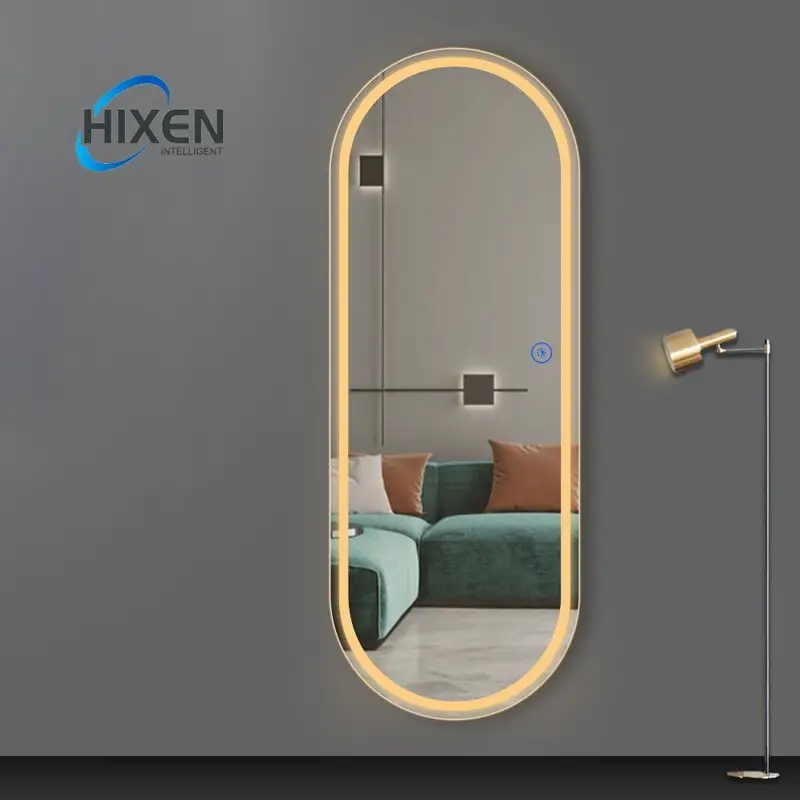
When creating a DIY full length mirror with lights, ensure consistent spacing between strips to achieve uniform illumination across the entire surface. Connect individual strips using appropriate corner connectors or extension wires, maintaining polarity throughout the circuit. Test each connection before removing adhesive backing to prevent troubleshooting difficulties after permanent installation. For mirrors with black frame designs, route wiring behind the frame structure to maintain clean aesthetics while protecting electrical connections from accidental damage.
How Do You Illuminate a Mirror?
The reason why your mirror is dim has to do with the lighting and where the lighting is located concerning yourself and the mirror. When you properly light your mirror, you eliminate the shadows and get light that better represents the colors of your face.
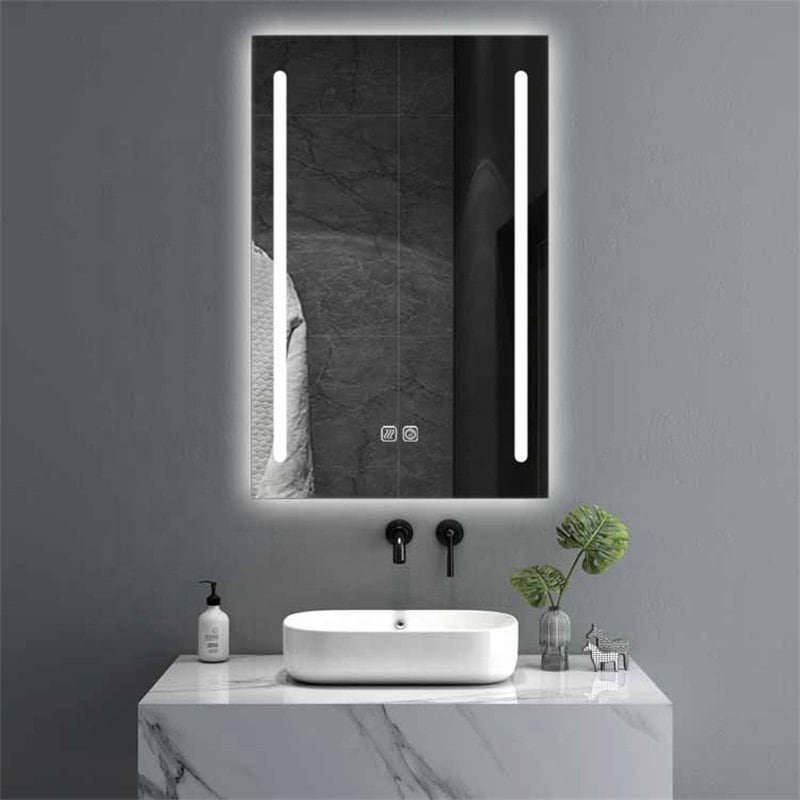
Position LED strips around the mirror perimeter to create even light distribution, avoid placing lights directly behind the viewing area, maintain consistent distance from mirror surface, and consider backlit mirror techniques for ambient lighting effects combined with task lighting for practical use.
Cependant, if you want to make your mirror brighter, you need to understand how lighting works with mirrors. Great lighting on a mirror means you no longer have shadows. Et, the light better represents the colors on your face.
For backlit mirror applications, mount LED strips behind the mirror with proper spacing from the wall to create an attractive halo effect. This technique works particularly well for modern lighted mirrors for bathrooms where ambient lighting enhances overall bathroom aesthetics.
Think about putting dimmers on the lights around your mirror. De cette façon, you can turn the lights up really bright when you want to do some close-up work. When you’re relaxing, you can dim the lights to a softer glow. If you light around the perimeter and backlight your mirror, you are going to have a professional-grade lighted vanity mirror for your bathroom.

How Do Lighted Mirrors Get Power?
The different power options are something you need to understand when you’re installing your LED bathroom mirror. That’s because the different options give you varying levels of convenience, sécurité, and complexity.
Lighted mirrors receive power through plug-in adapters connected to standard electrical outlets, hardwired connections to household electrical circuits, or battery packs for portable applications. Most DIY LED mirror installations utilize plug-in adapters for simplicity and safety.
Plug-in power adapters represent the most accessible option for DIY lighted mirror installations, requiring no electrical modifications to existing household wiring. These adapters convert standard household current to the low voltage required by LED strips, typically twelve or twenty-four volts. For permanent bathroom vanity mirrors installations, hardwired connections offer cleaner aesthetics by eliminating visible cords but require professional electrical work to ensure code compliance.
Battery-powered options work great if you don’t have easy access to electricity or you want a temporary installation. Just be prepared to change or recharge batteries on a regular basis. When you do decide on a power supply, make sure you size it correctly. It’s a general rule of thumb to upsize your rating 20% from what your LED strips draw. Pour les salles de bains, make sure everything is rated for the moisture environment.
Do Lighted Mirrors Require Special Wiring?
The power options you choose and the wiring you need to understand depends on where you’re putting your lighted vanity mirrors, specifically how much power they consume. You need to know about wiring and how to do it safely and up to code.
Most DIY LED mirrors operate on low voltage systems requiring standard household outlets and appropriate power adapters. Special wiring becomes necessary only for hardwired installations or high-power lighting systems exceeding standard adapter capabilities.
Standard LED light mirror vanity installations typically require no special wiring beyond ensuring adequate electrical outlet access and proper grounding. Low-voltage LED systems draw minimal current, well within the capacity of standard household circuits. Cependant, bathroom installations must comply with specific electrical codes regarding outlet placement and protection. Special wiring considerations arise when installing multiple large mirrors or high-wattage lighting systems that exceed individual circuit capacity.
If you’re running LED lighted mirror power hookups and stuff in your bathroom where you’ve also got heated floors or multiple high- power vanity lights, you might want to consult an electrician about running high-power stuff. When it comes to doing it yourself, as long as you keep everything at low voltage and use good power adapters, you’re not going to need anything special. Make sure your wires are hooked up well and well insulated. Especially in a wet environment like a bathroom, electrical safety is critical.

Do Lighted Mirrors Need GFCI?
Make sure you have a GFCI somewhere, as it is crucial for bathroom work. All this stuff has to be GFCI protected in the bathroom. If you don’t know about GFCIs, that means you’ve got to plug your stuff into a special plug to make sure you don’t get zapped.
Lighted bathroom mirrors require Protection GFCI when installed within six feet of water sources or in bathroom locations. This protection prevents electrical shock hazards by detecting ground faults and immediately disconnecting power when dangerous conditions occur.
National Electrical Code requirements mandate GFCI protection for all bathroom electrical outlets and fixtures to prevent potentially fatal electrical shock accidents. If you’re doing plug-in, you’re going to be plugging it into an outlet, and that outlet needs to be GFCI protected. Most bathrooms built in the last couple of decades have a GFCI outlet somewhere near the vanity area, so you’re probably good on that. If you’re going hardwired, then obviously running off the circuit that includes GFCI protection becomes necessary.
GFCI devices monitor electrical current flow and trip within milliseconds when detecting dangerous ground faults, providing essential protection in wet environments. Regular monthly testing of GFCI devices ensures continued protection for your bathroom vanity lights and mirror installations. Professional electrical inspection may be required for hardwired installations to verify proper GFCI protection and code compliance.
| Type d'installation | GFCI Requirement | Protection Method | Professional Required |
|---|---|---|---|
| Plug-in LED Mirror | Oui, if within 6ft of water | GFCI outlet | Non |
| Hardwired Mirror | Oui, for bathroom installation | GFCI breaker or outlet | Recommended |
| Battery Powered | No GFCI needed | Self-contained system | Non |
| Vanity Lighting System | Oui, bathroom code requirement | GFCI circuit protection | Oui |
Quels sont les inconvénients des miroirs LED?
That’s the biggest problem you could run into. Cependant, if you’re having problems with your lighted LED mirrors or don’t think they’re bright enough, now you know a bunch of stuff. You can start asking yourself better questions.
LED mirror disadvantages include higher initial costs compared to standard mirrors, potential electronic component failures requiring replacement, color temperature limitations that may not suit all preferences, and installation complexity requiring electrical knowledge for safe setup.
Initial investment costs for quality LED vanity mirror projects typically exceed standard mirror installations by fifty to two hundred dollars, depending on features and quality levels. Electronic components such as power adapters, Bandes LED, and control modules represent potential failure points requiring eventual replacement, unlike simple mirrors with indefinite lifespans. Some users find LED color temperature options limiting, preferring natural daylight that LEDs approximate but cannot perfectly replicate.
Installation complexity increases significantly when adding features like touch sensors or dimmer controls, potentially requiring professional assistance for complex electrical work. LED strips may experience uneven aging, resulting in color temperature shifts or brightness variations over time. Heat generation from LED components, bien que minime, can affect mirror longevity in poorly ventilated installations. En plus, light up vanity mirror projects require ongoing electrical consumption, adding to utility costs compared to passive mirror solutions. Despite these considerations, most users find the practical benefits of consistent, high-quality lighting outweigh these disadvantages for daily grooming applications.
How to Build a Makeup Vanity From Scratch?
Building your perfect makeup vanity will pull your lighted mirror project all together in creating a complete makeup vanity. Building your perfect makeup vanity will pull your lighted mirror project all together in creating a complete makeup vanity.
Building a makeup vanity involves selecting appropriate workspace dimensions, incorporating storage solutions for cosmetics and tools, integrating your DIY LED mirror installation, ensuring adequate electrical access for lighting and accessories, and choosing materials that withstand daily use and cleaning.
Begin your vanity construction by determining optimal dimensions based on available space and user requirements, typically forty-eight to sixty inches wide and sixteen to twenty inches deep for comfortable use. Incorporate your completed light up vanity mirror as the centerpiece, ensuring the mounting height accommodates seated and standing use.
Design storage solutions including drawers for small items, compartments for larger products, and open shelving for frequently used accessories. Integrate electrical planning early in the design process, providing outlets for your LED mirror, hair styling tools, and task lighting such as vanity lights positioned to complement your mirror lighting. Select materials resistant to cosmetic spills and humidity, such as sealed hardwood, quality laminate, or composite materials with waterproof finishes.
Consider incorporating a comfortable seating area with appropriate height coordination to your mirror placement. Room mirror ideas should complement overall bathroom aesthetics while providing practical functionality. For small bathroom mirror installations, design compact vanity solutions that maximize storage efficiency while maintaining adequate workspace for daily routines. The integration of modern bathroom mirror lighting with thoughtfully designed storage creates a professional grooming environment rivaling commercial installations at a fraction of the cost.
Conclusion
Creating your own DIY lighted mirror is about getting the functionality you need and want while taking a lot of professional satisfaction in the outcome. Not to mention, you’ll save a ton of money versus what a commercial entity would charge you for the same thing.
- Pour apprendre à choisir le bon miroir de salle de bain, cliquez ici.
- Pour apprendre à installer un miroir, choisissez ici.
- Pour apprendre à choisir le miroir de bonne taille, cliquez ici.
- Pour apprendre comment les miroirs sont fabriqués ici.
- Cliquez ici et vous apprendrez pourquoi nous avons l'air mieux dans les miroirs.
- Cliquez ici, vous découvrirez le haut 10 fabricants de miroir LED pour 2024.
- Cliquez ici pour découvrir pourquoi ma lumière miroir de vanité ne s'allume pas?
- Découvrez quelle est la taille du miroir de salle de bain? Cliquez ici
- Cliquez ici si vous ne savez pas comment nettoyer votre miroir
- Pour savoir comment réparer le miroir du capteur tactile ne fonctionne pas, cliquez ici
- Découvrir 10 Problèmes de miroir de salle de bain LED commun Cliquez ici